
You have just created your first no-code project on Bubble. Everything is set up, and you are about to launch your next big thing. The goal is now to get your first customer, have them sign up on your waitlist, purchase your product, or leave a review. But, the question is, how do you precisely track these events, and how could you stay up to date with these events instantly as they happen?
We have built LogSnag, a cross-platform event tracking service, to solve this essential and common problem. LogSnag allows you to easily track events such as user sign-ups, product sales, and anything else that is important to your business. In addition, it creates feeds of different topics and can notify you of important events on any of your devices. Today, we would like to expand this experience to the no-code community and announce our official Bubble plugin.
New User Sign Up
bubble
2 minutes ago
LogSnag's Bubble plugin makes it possible to integrate our event seamlessly tracking features to any of your Bubble projects just in a few clicks and enables you to understand further your customers and how they interact with your product. In this blog post, I will walk you through the process of installing and setting up this plugin.
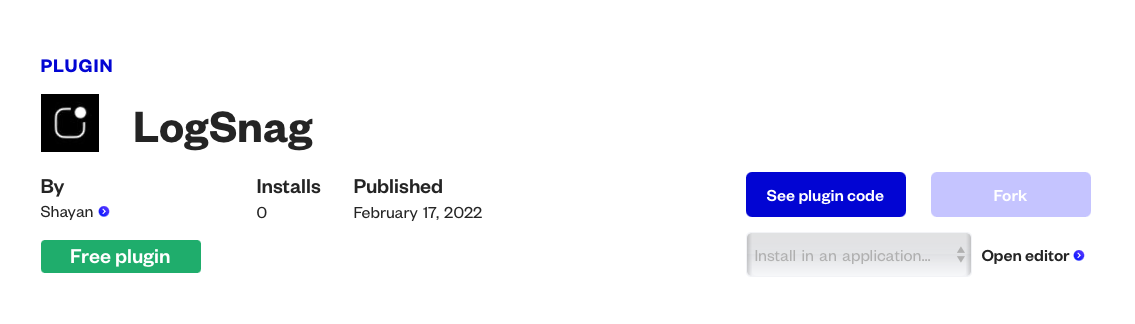
Getting started, install the plugin.
Head to LogSnag's plugin page, select your project and open the editor.
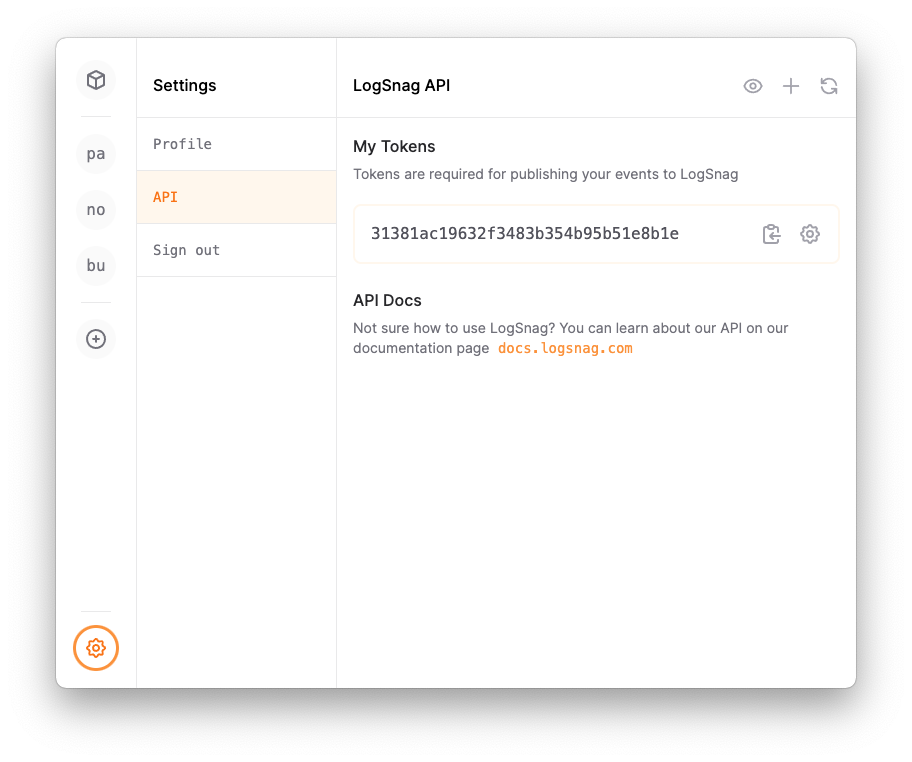
Next, let's create a new project on LogSnag; I will call this Bubble. Then, head to the API settings and create and copy a new API token.
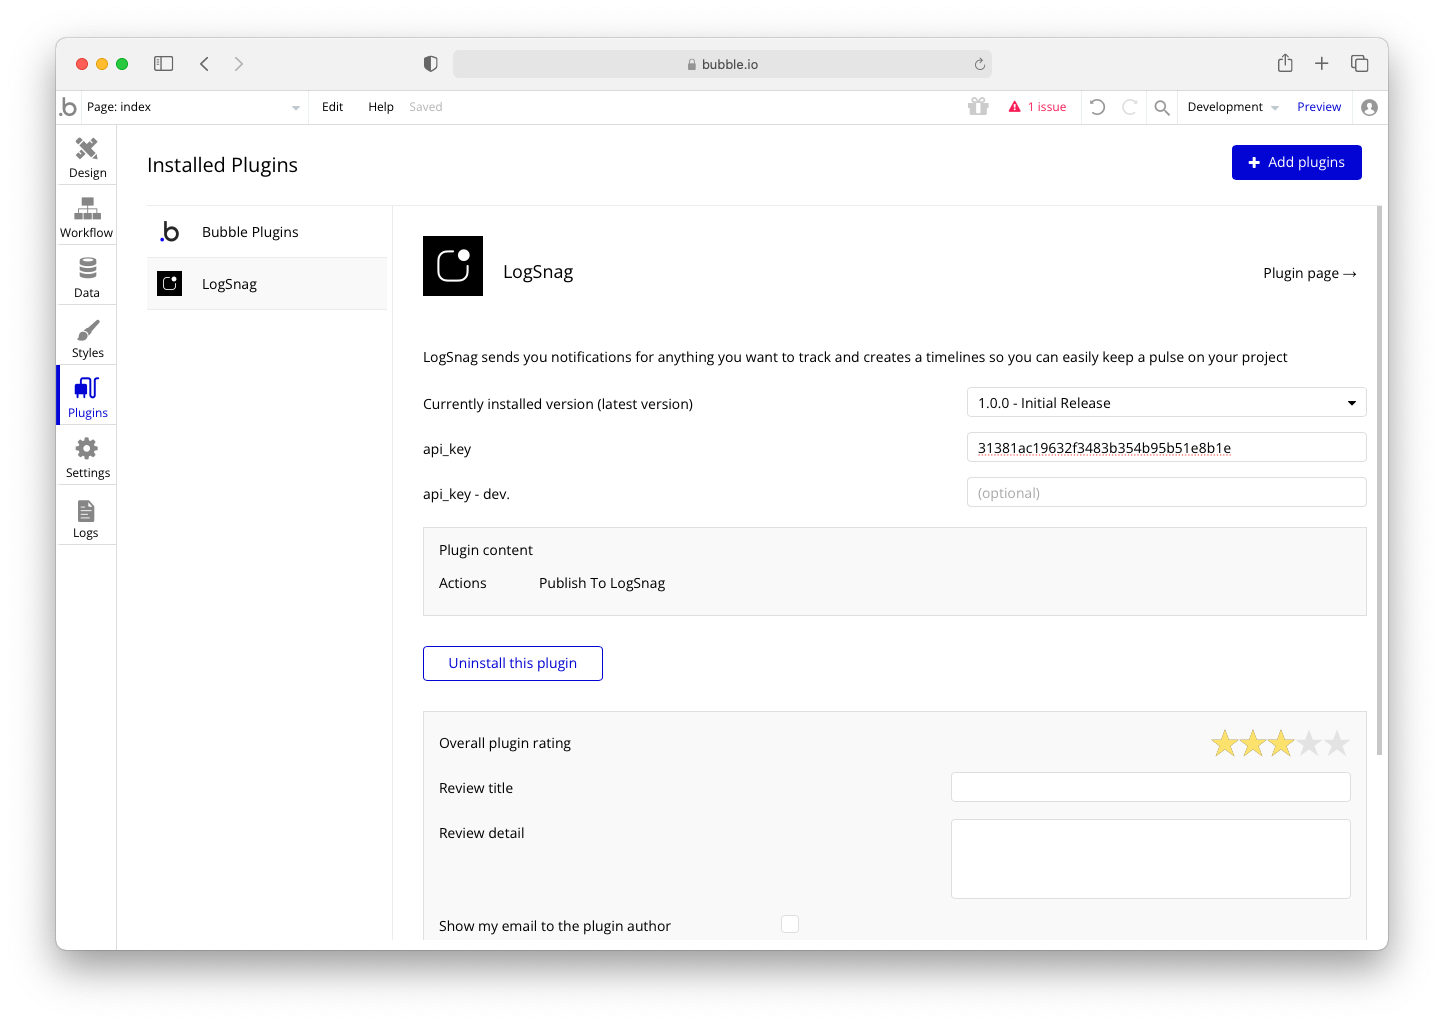
Finally, head back to Bubble, open LogSnag under the Plugins section, and paste the API key that we have just created. Of course, you could also create another API Key with different settings for dev purposes, but we will skip that for this tutorial.
Create your Bubble Workflow
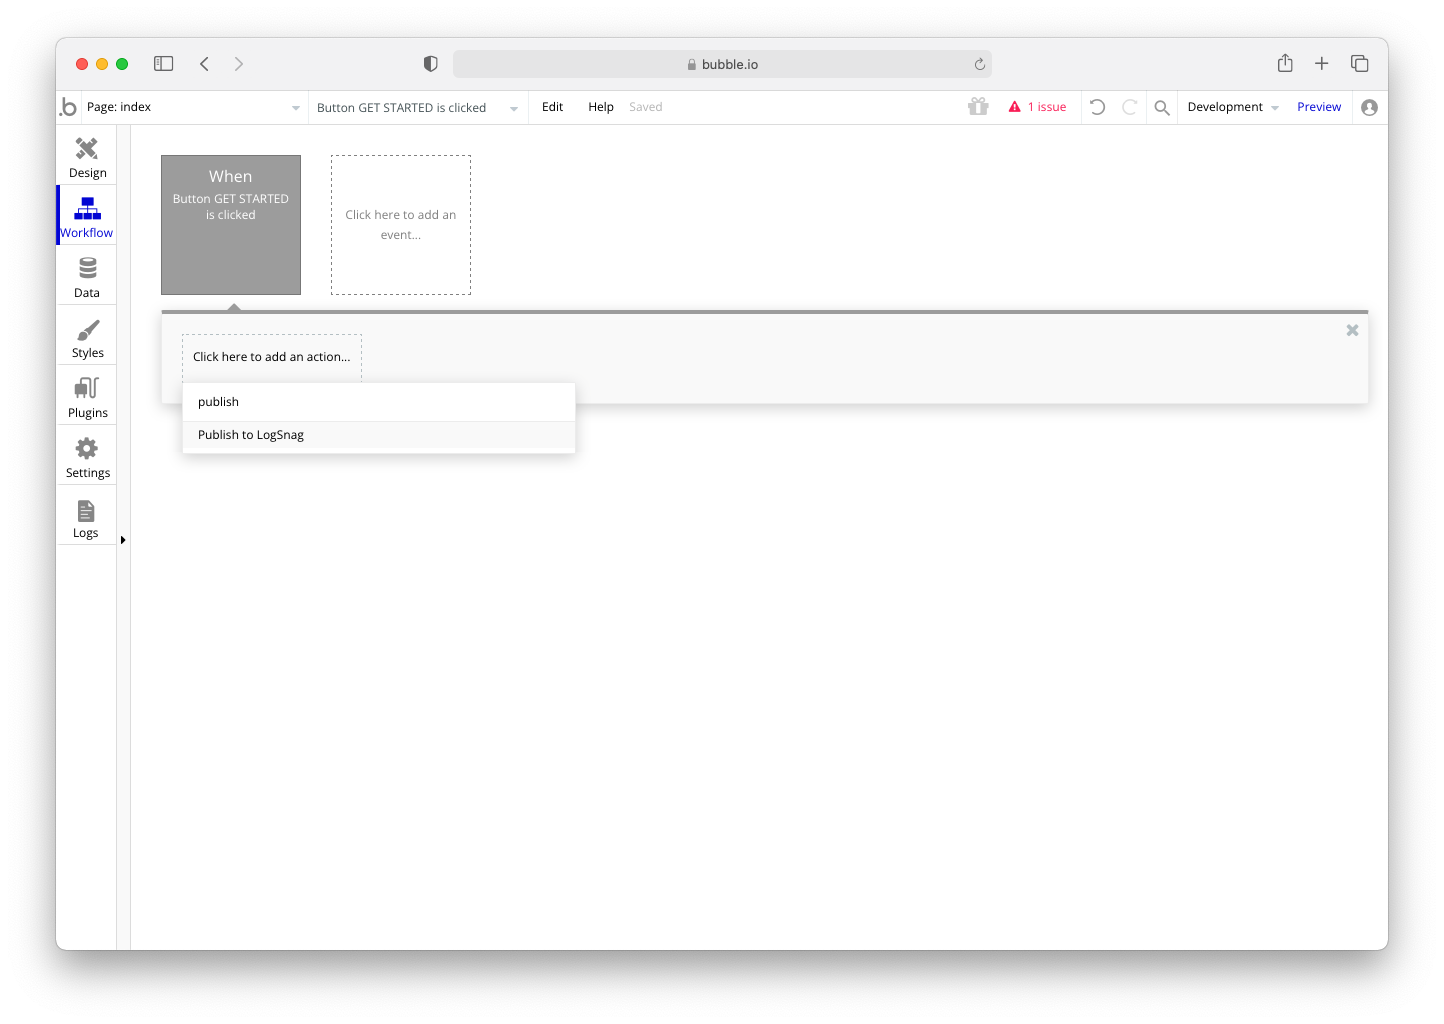
Time to publish our events to LogSnag. Under the workflow tab on Bubble, create a new Workflow or use one you have already made. Next, since you have the LogSnag plugin installed, you can use the Publish to LogSnag. So go ahead and add the step to your workflow.
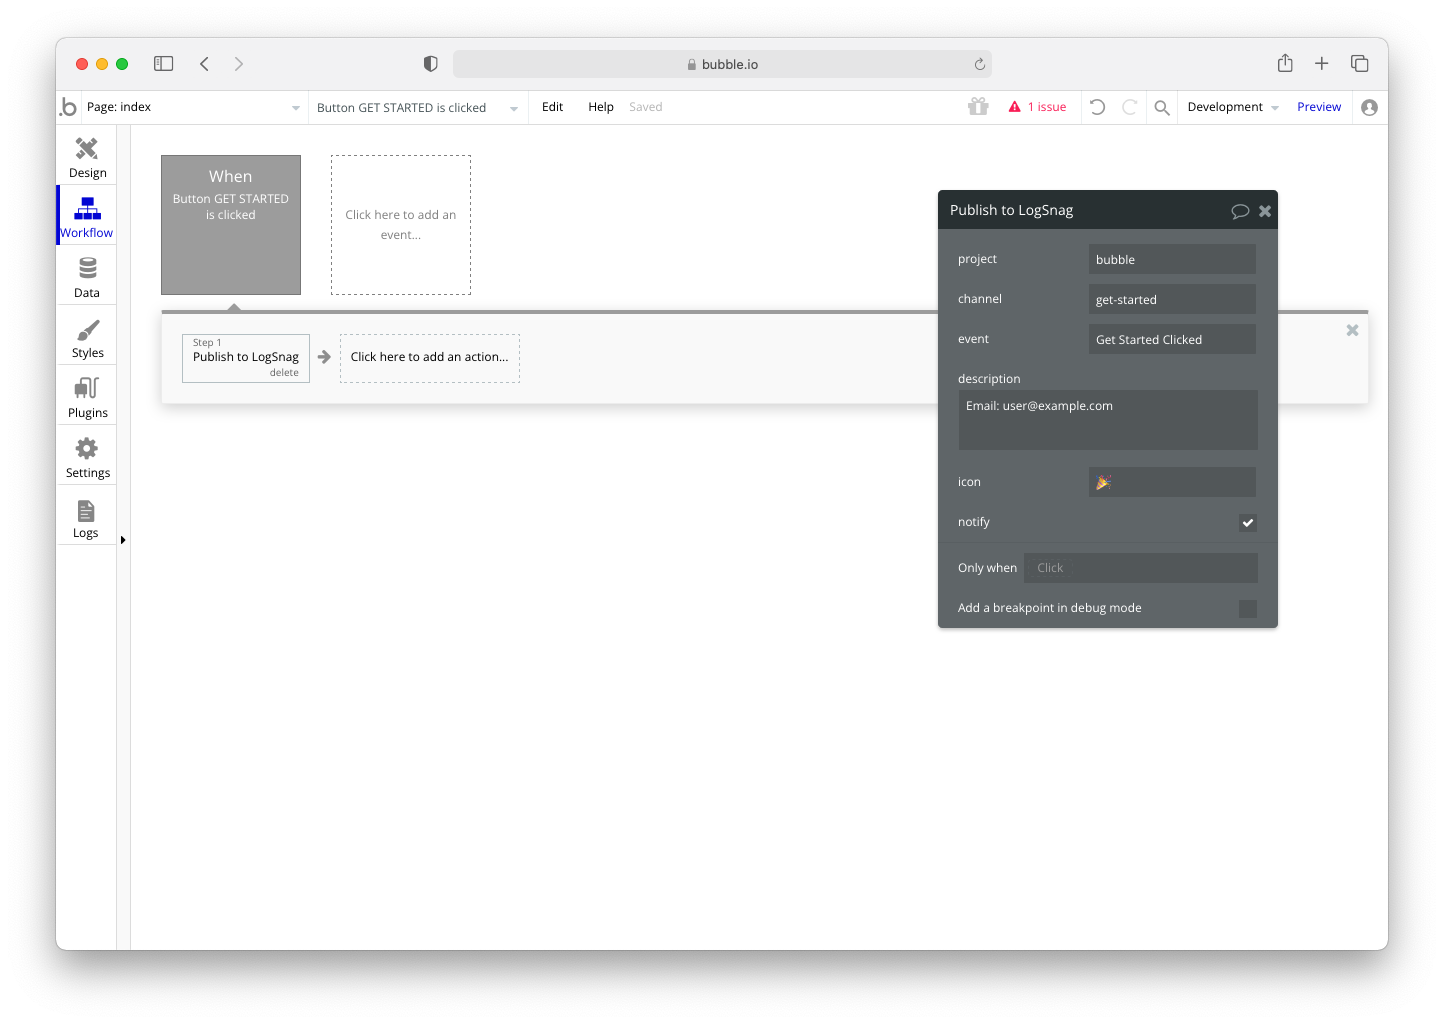
We can customize this step; I will use the bubble project that I created earlier on LogSnag and set the channel to get-started since I am adding this event to the get started button on my website. And finally, fill in the event, description, and icon. You could also check the notify box to receive a push notification for more important events.
Trigger the Workflow
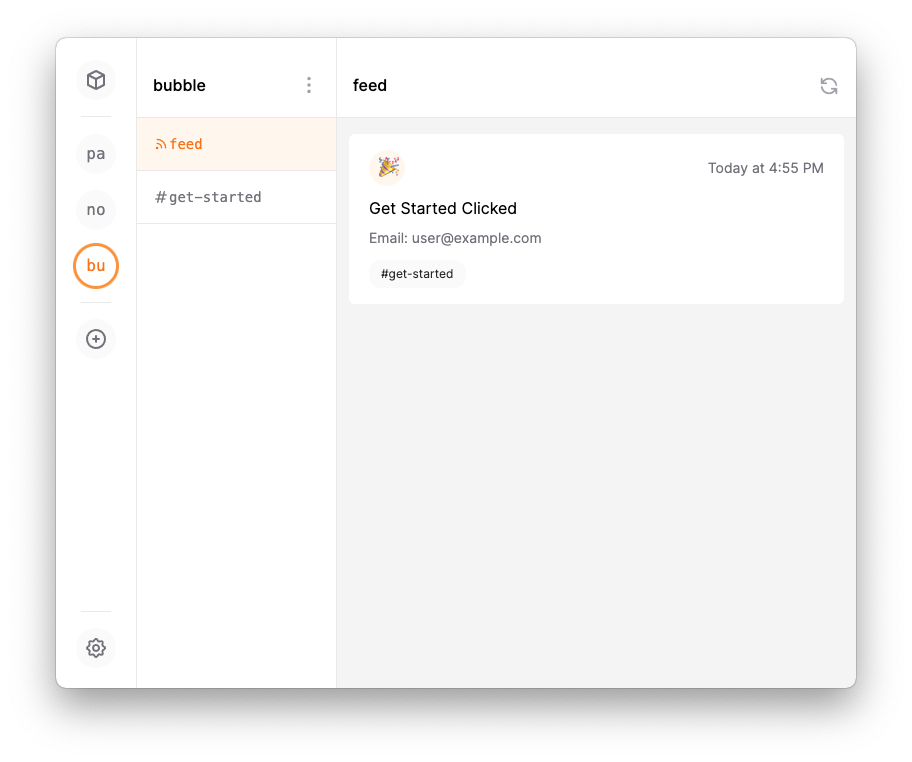
All left to do is to open the website and trigger your workflow. If you have everything set up correctly, you should instantly get a new event pushed to your LogSnag account and receive a push notification on all your devices if you have selected the notify box.
Conclusion
I have used a very basic example in this tutorial to show you the power of this integration. However, you could use the same setup for logging other critical events such as user sign-up, customer feedback, product sale. In addition to logging events, LogSnag comes with various other features that you may find helpful. Thus, I highly recommend you to check out the rest of our blog posts on LogSnag.
Interested in LogSnag?