
If you're building a customer-facing product, chances are you'll want to collect feedback from your users. This feedback shapes your product and your business and, at times, morphs your product into a better one. So, it is important to simplify this feedback loop and make it available to your users from day one.
Of course, there are tons of services that can help you with collecting feedback — from traditional tools like Canny to modern canny alternatives focused on simplicity. However, what I will show you today is a bit different.
We also built UserJot, a simple feedback, roadmap, and changelog tool for modern SaaS teams. If you want a dedicated solution, try our user feedback tool or see our Canny alternative.
I have accidentally built a great feedback service
Over the past few months, I have developed a simple event tracking service called LogSnag. Throughout this process, one of my main goals has been to keep the product as dynamic and flexible as possible. I believe that it should be the user who shapes the product around their workflow instead of the tool dictating how it should be used.
As a result, LogSnag allows users to come up with creative ways to use the product, and it turns out that it could be a fantastic way to collect feedback from your users. If you're looking for a more traditional customer feedback tool with feedback boards and roadmaps, that's something I built too. But today, let me walk you through the LogSnag setup process and leave it up to you to decide for yourself.
Let's create a feedback form
Now, I don't want to hide any of the details, so let's just start by creating a basic html form.
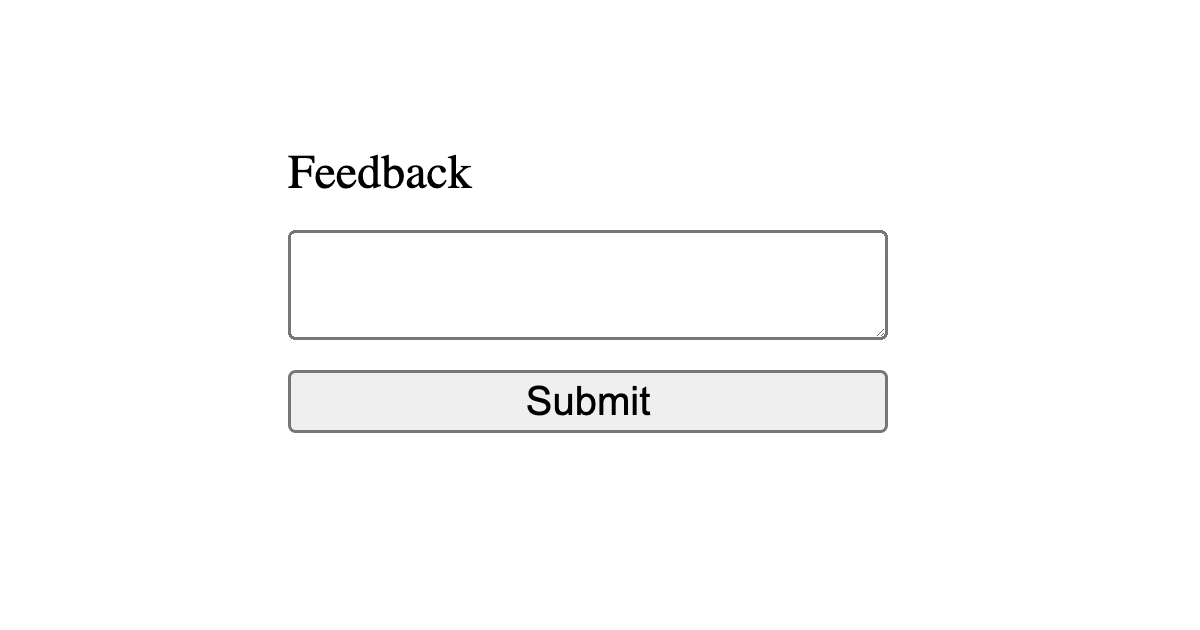
Simple, right? Once you open the file in your browser, you'll see that we have an empty form with a submit button.
Alright, let's add some JavaScript to the script tag to handle the form submission.
All we are doing here is adding an event listener to the form and then creating a new formProps object from the form. This is a bit of a hack, but it gives us an object with all the form data.
So far, so good; let's now get to the meat of the problem: adding LogSnag to our project.
Setup your LogSnag project
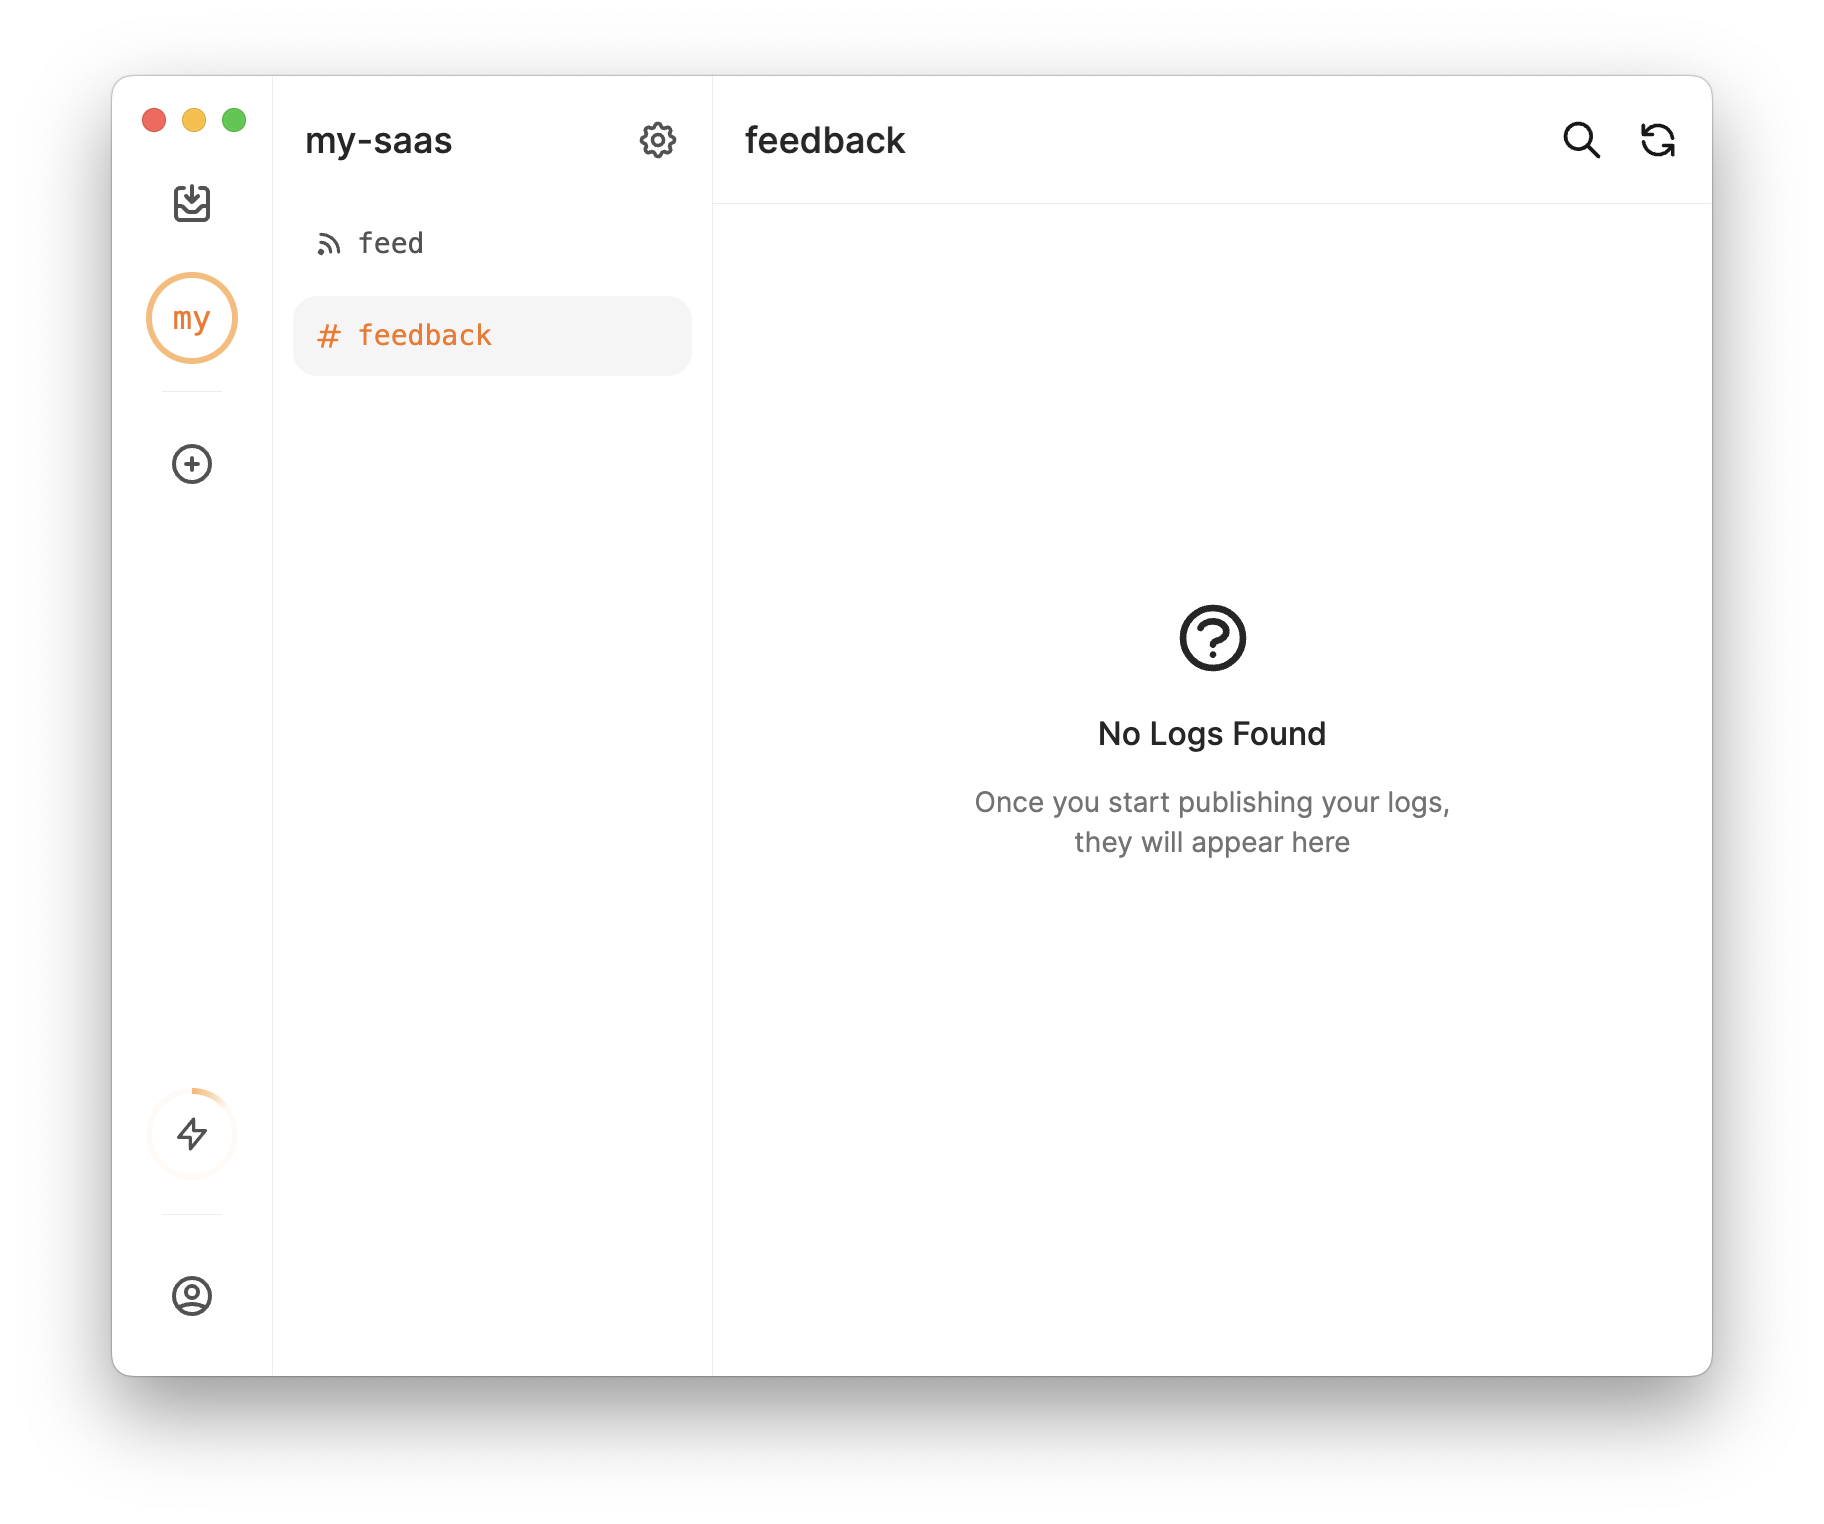
To get started, head to LogSnag and create a free account. Then, you are walked through the steps to create a new project and a channel. For this example, I'm going to call the project my-saas and create a channel called feedback.
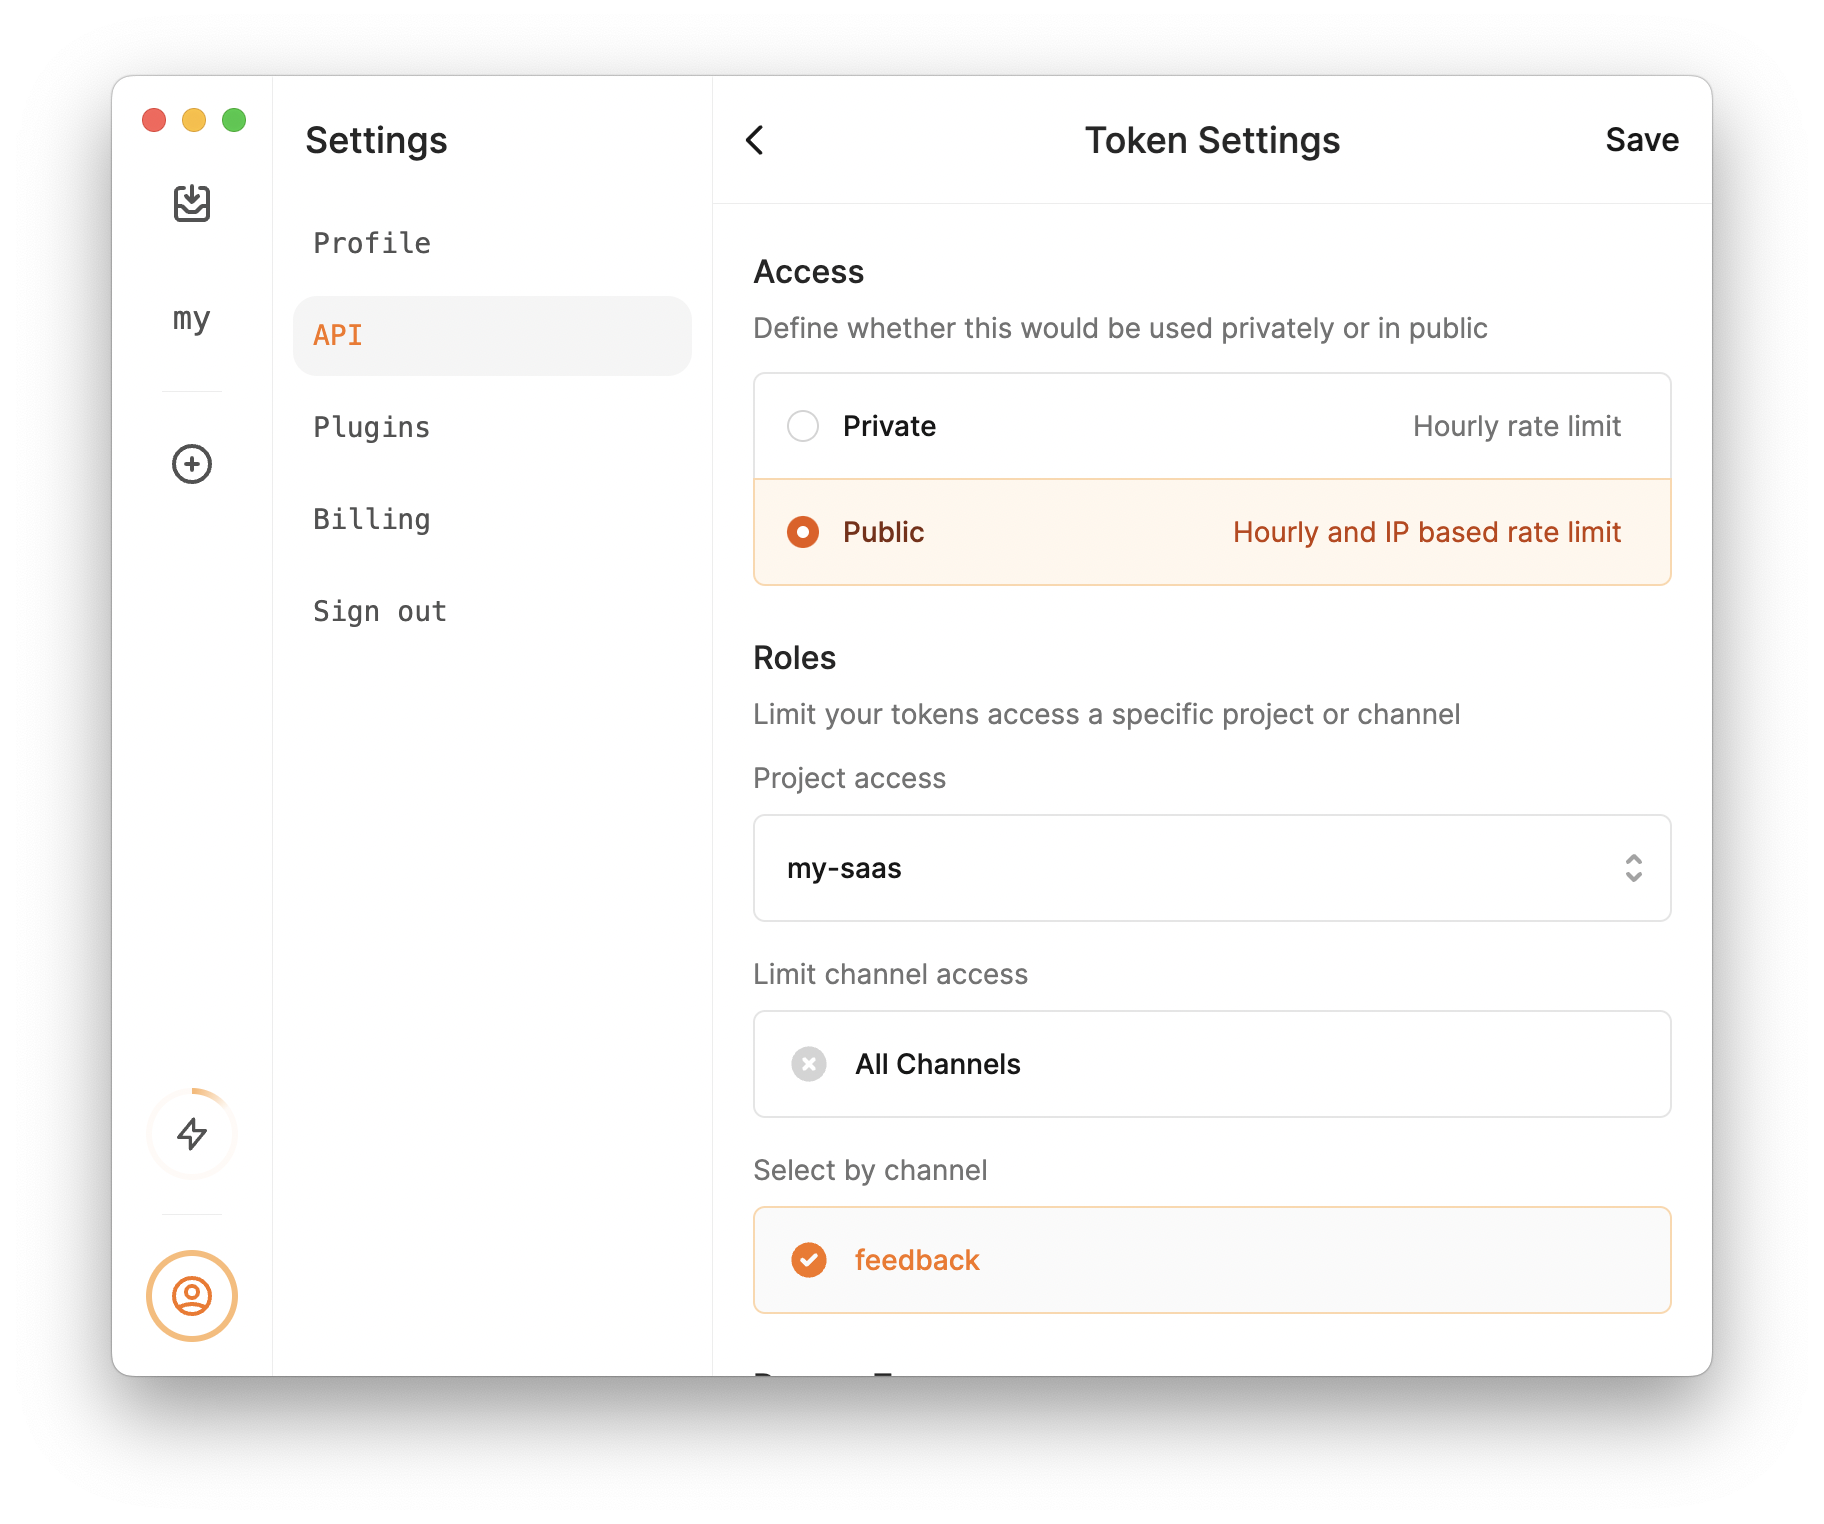
Next, we need to get our API token. This is the token that we will use to authenticate our requests. To do this, click on the settings, head to the API section, and copy your token.
Since we will send this feedback directly from our client, we should change this token's access to Public and limit its role to the channel we just created. By doing so, LogSnag applies extra security measures to the events coming in via this token. Of course, you can entirely ignore this step if you send these events from the server side.
Add LogSnag to our code
Next, I'll add a new function to our code to publish the event to LogSnag.
As you can see, this is a simple HTTP POST request to the LogSnag API. We are sending the following data:
- project: The name of our project (
my-saas) - channel: The name of the channel that we just created (
payment) - event: The name of our event
- description: Optional description of the event
- icon: Optional emoji icon to display with the event
You can learn more by looking at our docs.
Publishing feedbacks to LogSnag
The last step is to update the event handler we added earlier and add the publishToLogSnag function to the event handler.
Let's see what happens when we submit the form.
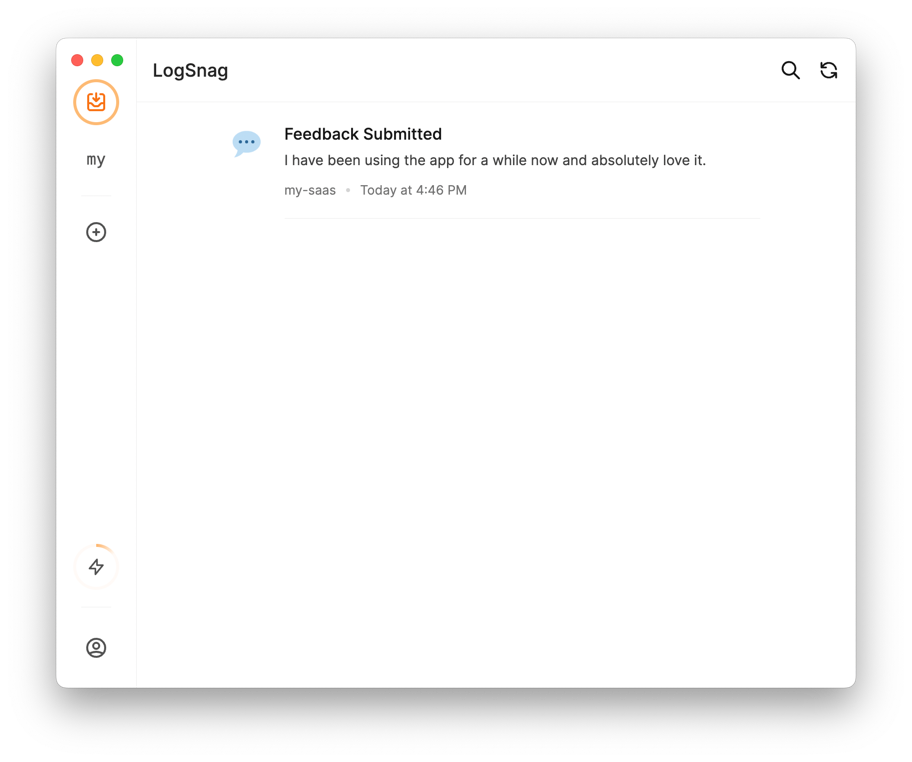
That's pretty cool, right? We just sent feedback to LogSnag, and our dashboard got updated in real-time.
It's about to get much better
Alright, I'm about to make things much more interesting. You may also want to know which user has submitted feedback. In our example, let's assume we have access to their email address and will use that to identify the user.
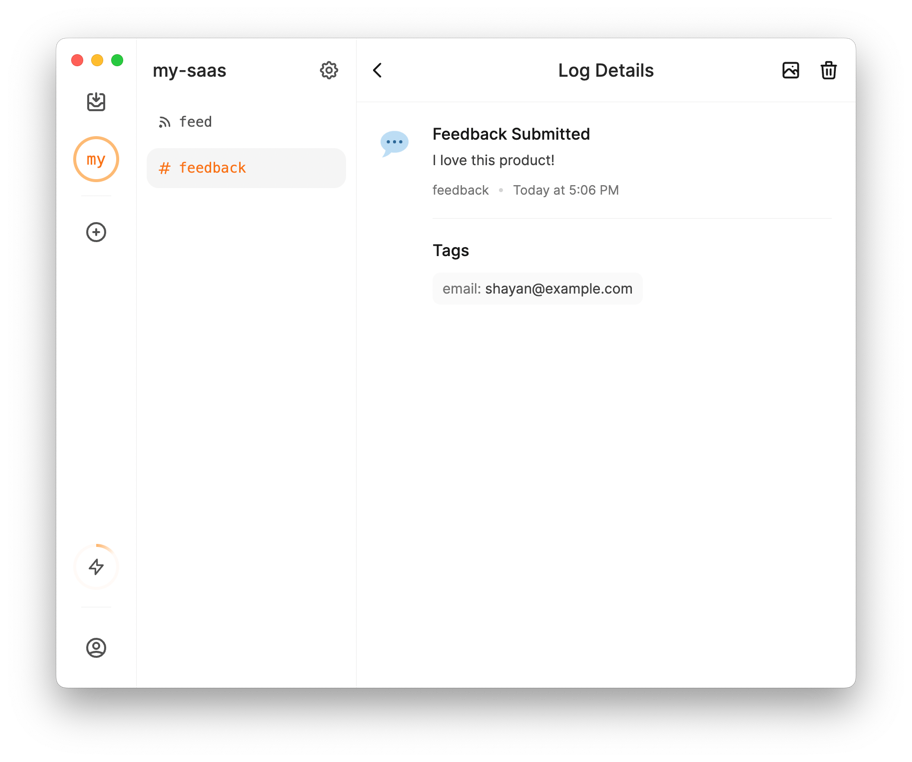
There is an optional field in our API that I haven't yet told you about. The field is called tags. Tags are an optional list of key-value pairs that allow you to add additional context to each event in any way you want. For this example, I'm going to add a tag to the event called email and pass in the email address of the user.
Let's update our event handler to include the email tag.
Now, we can send another feedback and see the email tag in the LogSnag dashboard.
What about different types of feedback?
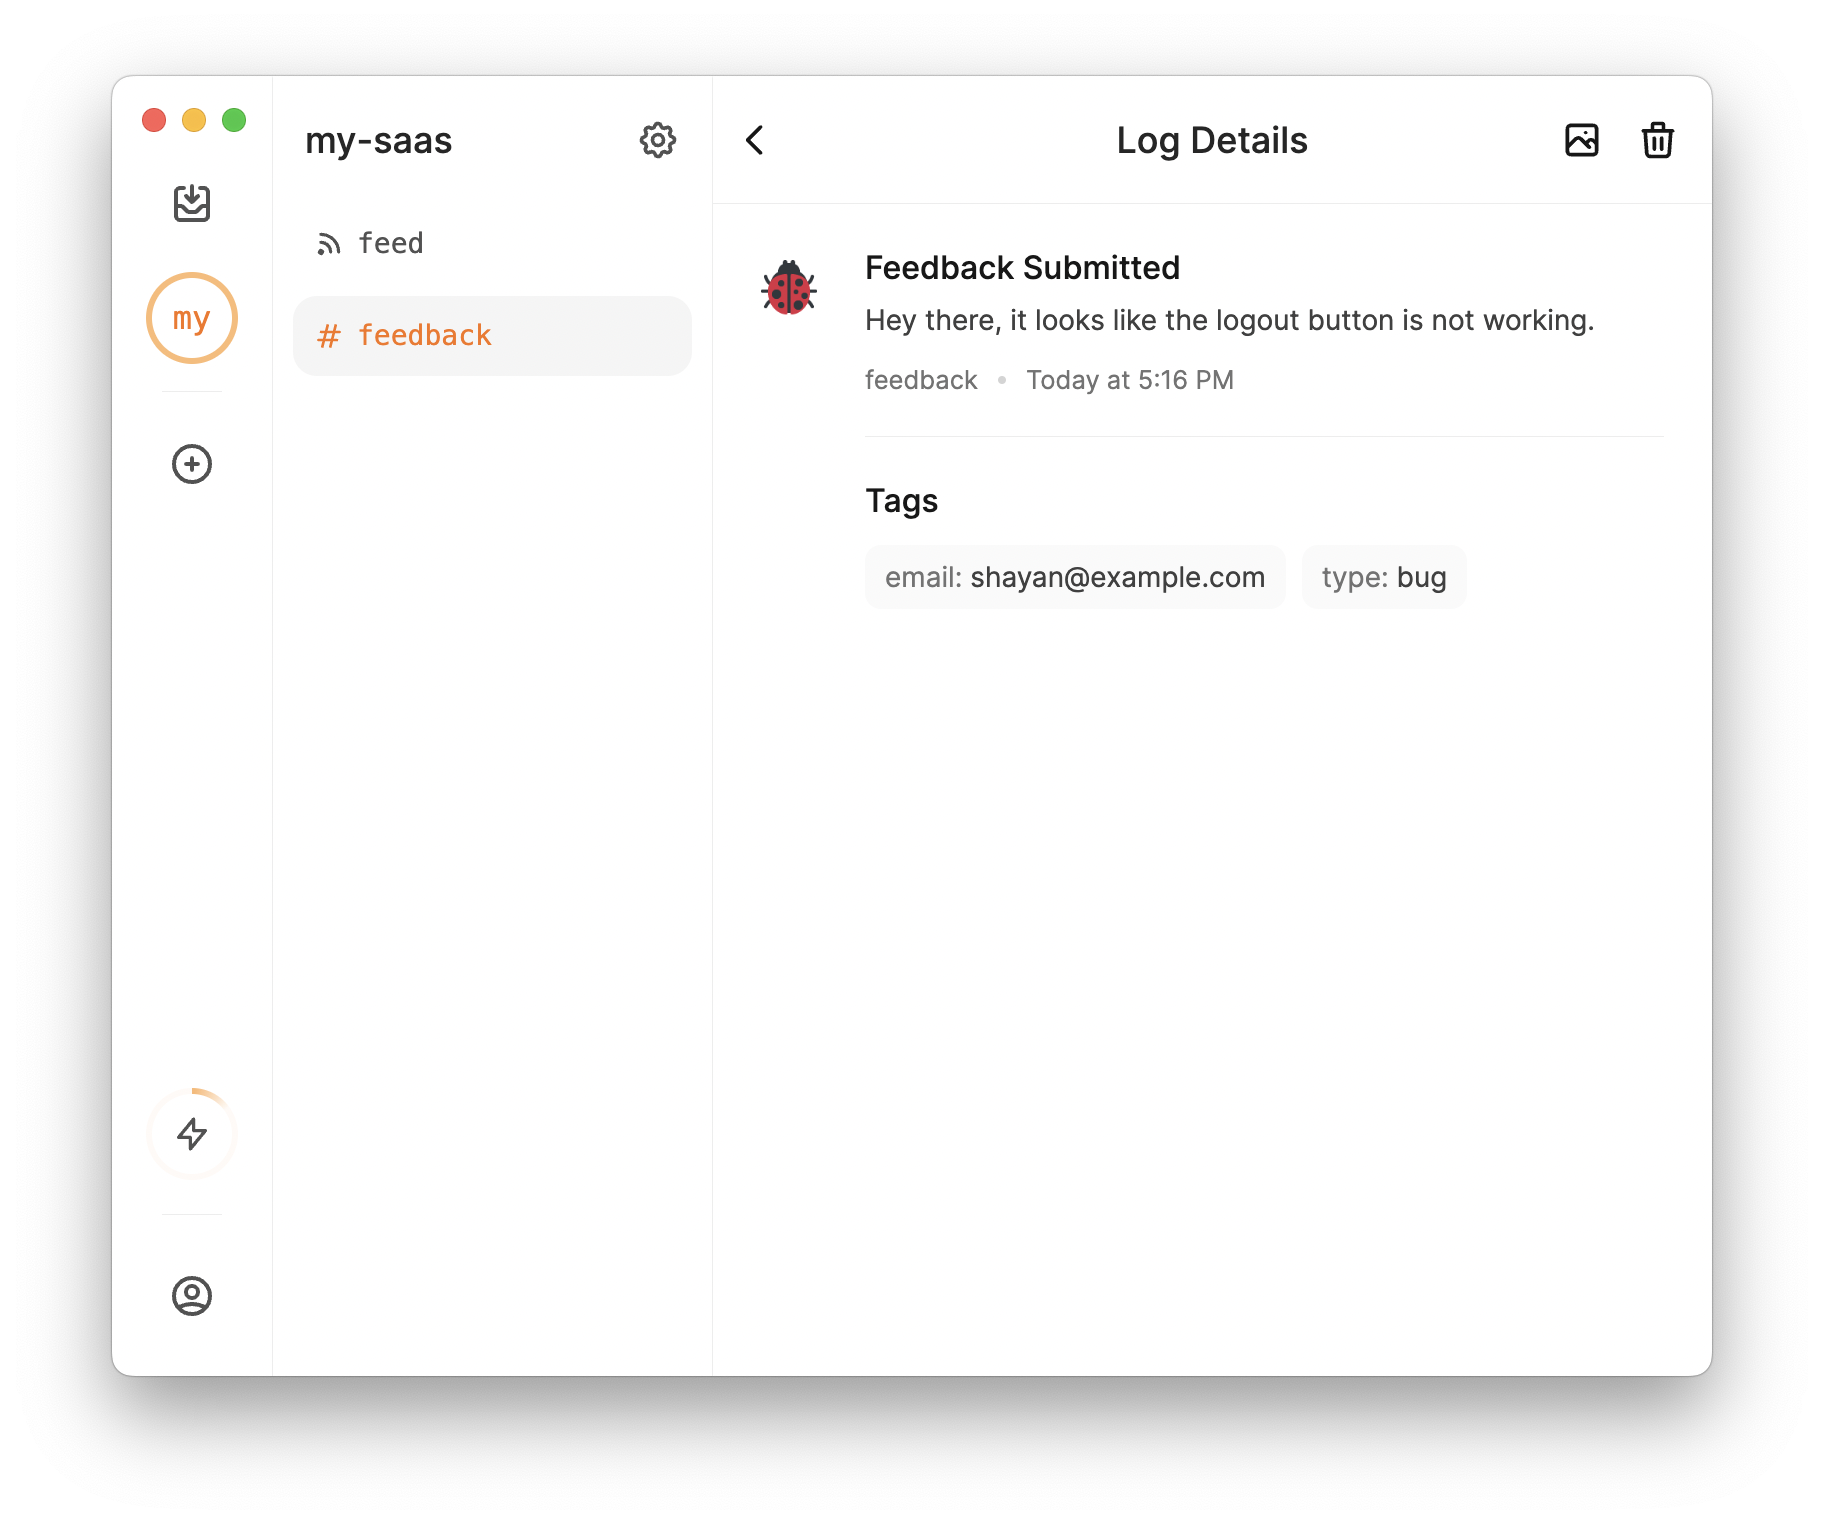
Okay, there is a chance that you may want to send different types of feedback. For example, you may have a feedback type called bug and another called idea.
Well, it's easy to add this as a tag to the event. So let's go back to our event handler and add a type tag which would be either bug or idea.
While we are at it, let's update the icon to be a different emoji for each feedback type.
Let's see what happens when we submit the form. Cool eh?
What can I do with tags?
Tags are an easy way to add context to your events, but they also provide another very powerful functionality. You can use tags with text to search and filter across your events in LogSnag.
For example, say we want to view all the feedback from a specific user. We can use the tag email to filter the events. To do so, simply use the search bar and filter by the email tag: email:shayan@example.com
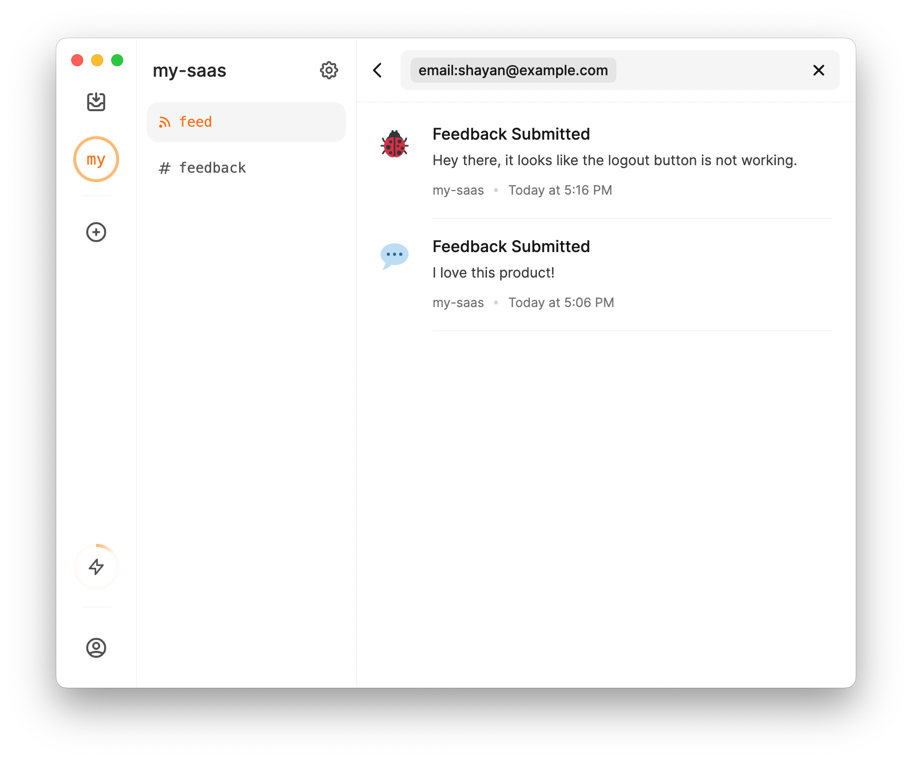
We can go even further; what if we want to find all the bug feedback from a specific user? Easy, just search: email:shayan@example.com type:bug
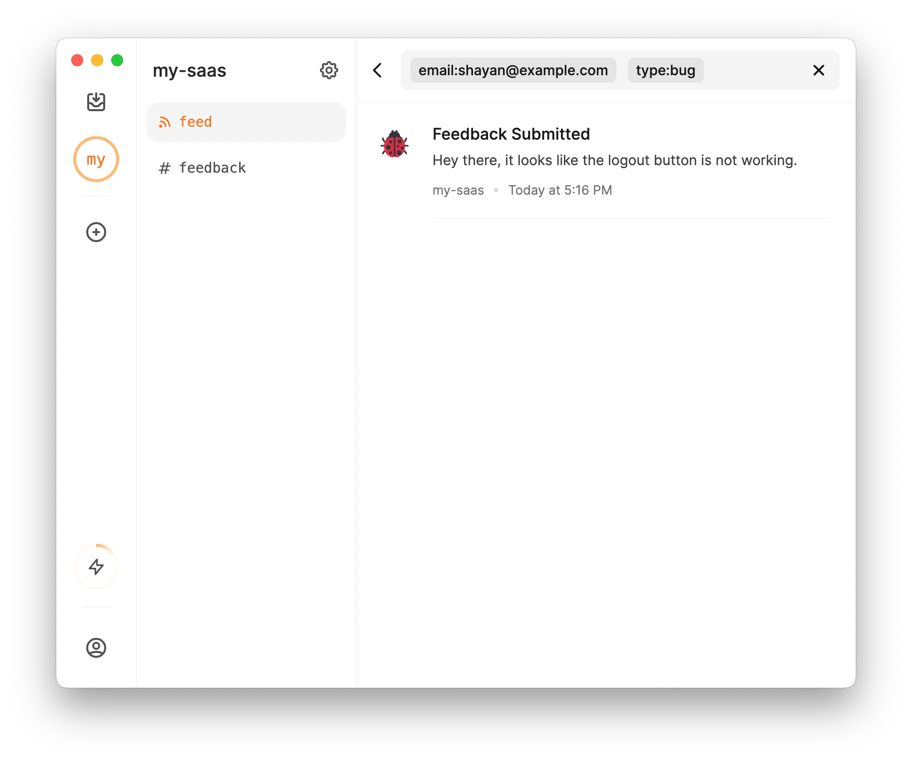
Impressive right? Remember, tags are just key-value pairs, so you can use any key you want.
One more thing...
Okay, there is one more thing that I haven't told you yet. You see, LogSnag is a cross-platform app. That means you can use it on your phone, tablet, or desktop, and with cross-platform apps, you get something very powerful.
You guessed it right, Push Notifications! LogSnag has a built-in push notification feature that allows you to receive push notifications across your devices when you receive an important event.
To send push notifications, all you need to do is set notify to true in your request body. For example, let's ensure we receive a push notification when a user submits a bug report.
Now, we are instantly notified when a user submits a bug report, allowing us to respond and fix the issue quickly. Let's see what happens when we submit the form.

Conclusion
As you can see, LogSnag is a great way to collect customer feedback. It is easy to use, and it is very powerful. This article got relatively long as I went into the details of each feature. To get this working for you, you need to use the publishToLogSnag function and add it anywhere in your code.
In addition, you can use the same function to send out other types of events aside from feedback. For example, you may use it to track user activity, payments, or any different kind of event that is important to you.
I can't wait for you to try out LogSnag and see what it can do for you. And if you're looking for a more complete feedback solution with public boards and roadmaps, check out UserJot. Feel free to reach out to me with any questions or comments.
Interested in LogSnag?