
A bit of background
I have spent much of my free time playing with microcontrollers, sensors, radio modules, and anything else one can hook up to a Raspberry Pi or Arduino. So I'd say it's fair that I've always been a huge fan of the IoT field.
In my sophomore year, I created a simple mesh network protocol and deployed it on several Raspberry Pi nodes, each equipped with LoRa and NRF24L01 modules. I then deployed a chat app on top of it and used the ad-hoc network to connect to the nodes via my phone. I was then able to send and receive messages using my phone and communicate with others without having access to the internet.
The problem with event tracking
Ever since, I have built many other tools, many revolving around home automation, starting from the lights to the curtains and my garage door. Pretty cool stuff, I must say.
Throughout my hardware development journey, I've faced quite some issues with the state of the software that was available to me at the time. These issues included the need for a proper event tracking tool to track the state of each device. I also wanted some simple analytics on the data I collected and, most importantly, push notifications to be sent to my phone when a device was triggered. I found multiple tools that tried to tackle these issues but were too complicated, limited, or difficult to integrate with lightweight tools.
So if you haven't yet guessed where this is going, let me spoil it for you. A few months ago, I started developing a new event tracking tool for this exact purpose. It's called LogSnag, and I'm going to tell you all about it.
So, what is LogSnag?
LogSnag is a simple and intuitive event tracking tool. However, I have designed it to be very versatile, meaning it can be used to track almost anything, including your SaaS, Shopify stores, or IoT projects.
LogSnag provides a cross-platform application that allows you to keep an eye on your events and analytics whether you’re on Windows, Linux, macOS, iOS, or Android. Yes, there is an app for each one. And most importantly, you may decide to receive push notifications for the more important events on every one of those platforms.
How does LogSnag work?
How does it work, you may be asking? LogSnag provides a single API endpoint that allows you to track anything you want simply by making an HTTP request.
It then aggregates all of these logs, organizes them into different chronological timelines, and separates them based on topic and project, all in real-time, without you having to worry about anything. And at the end, you are left with a simple, beautiful timeline of your events that you may scroll, filter or search through. As simple as that.
Ok, enough with talking; let’s set up a demo project and walk through what it takes to integrate LogSnag with your IoT project and start tracking events.
Tracking events on a Raspberry Pi.
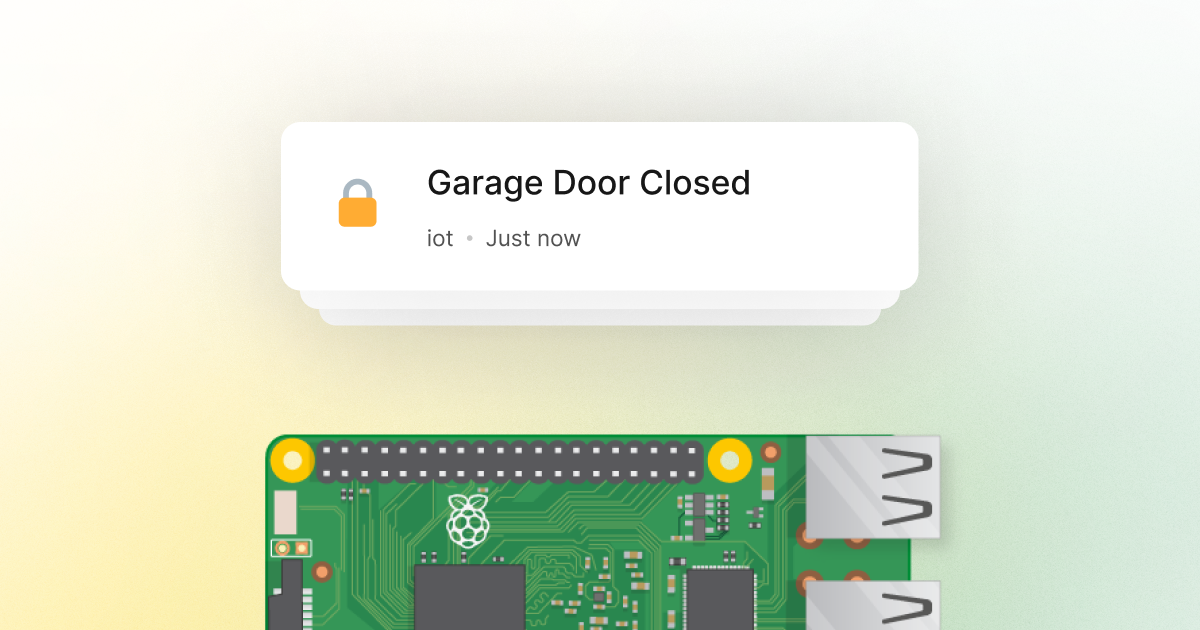
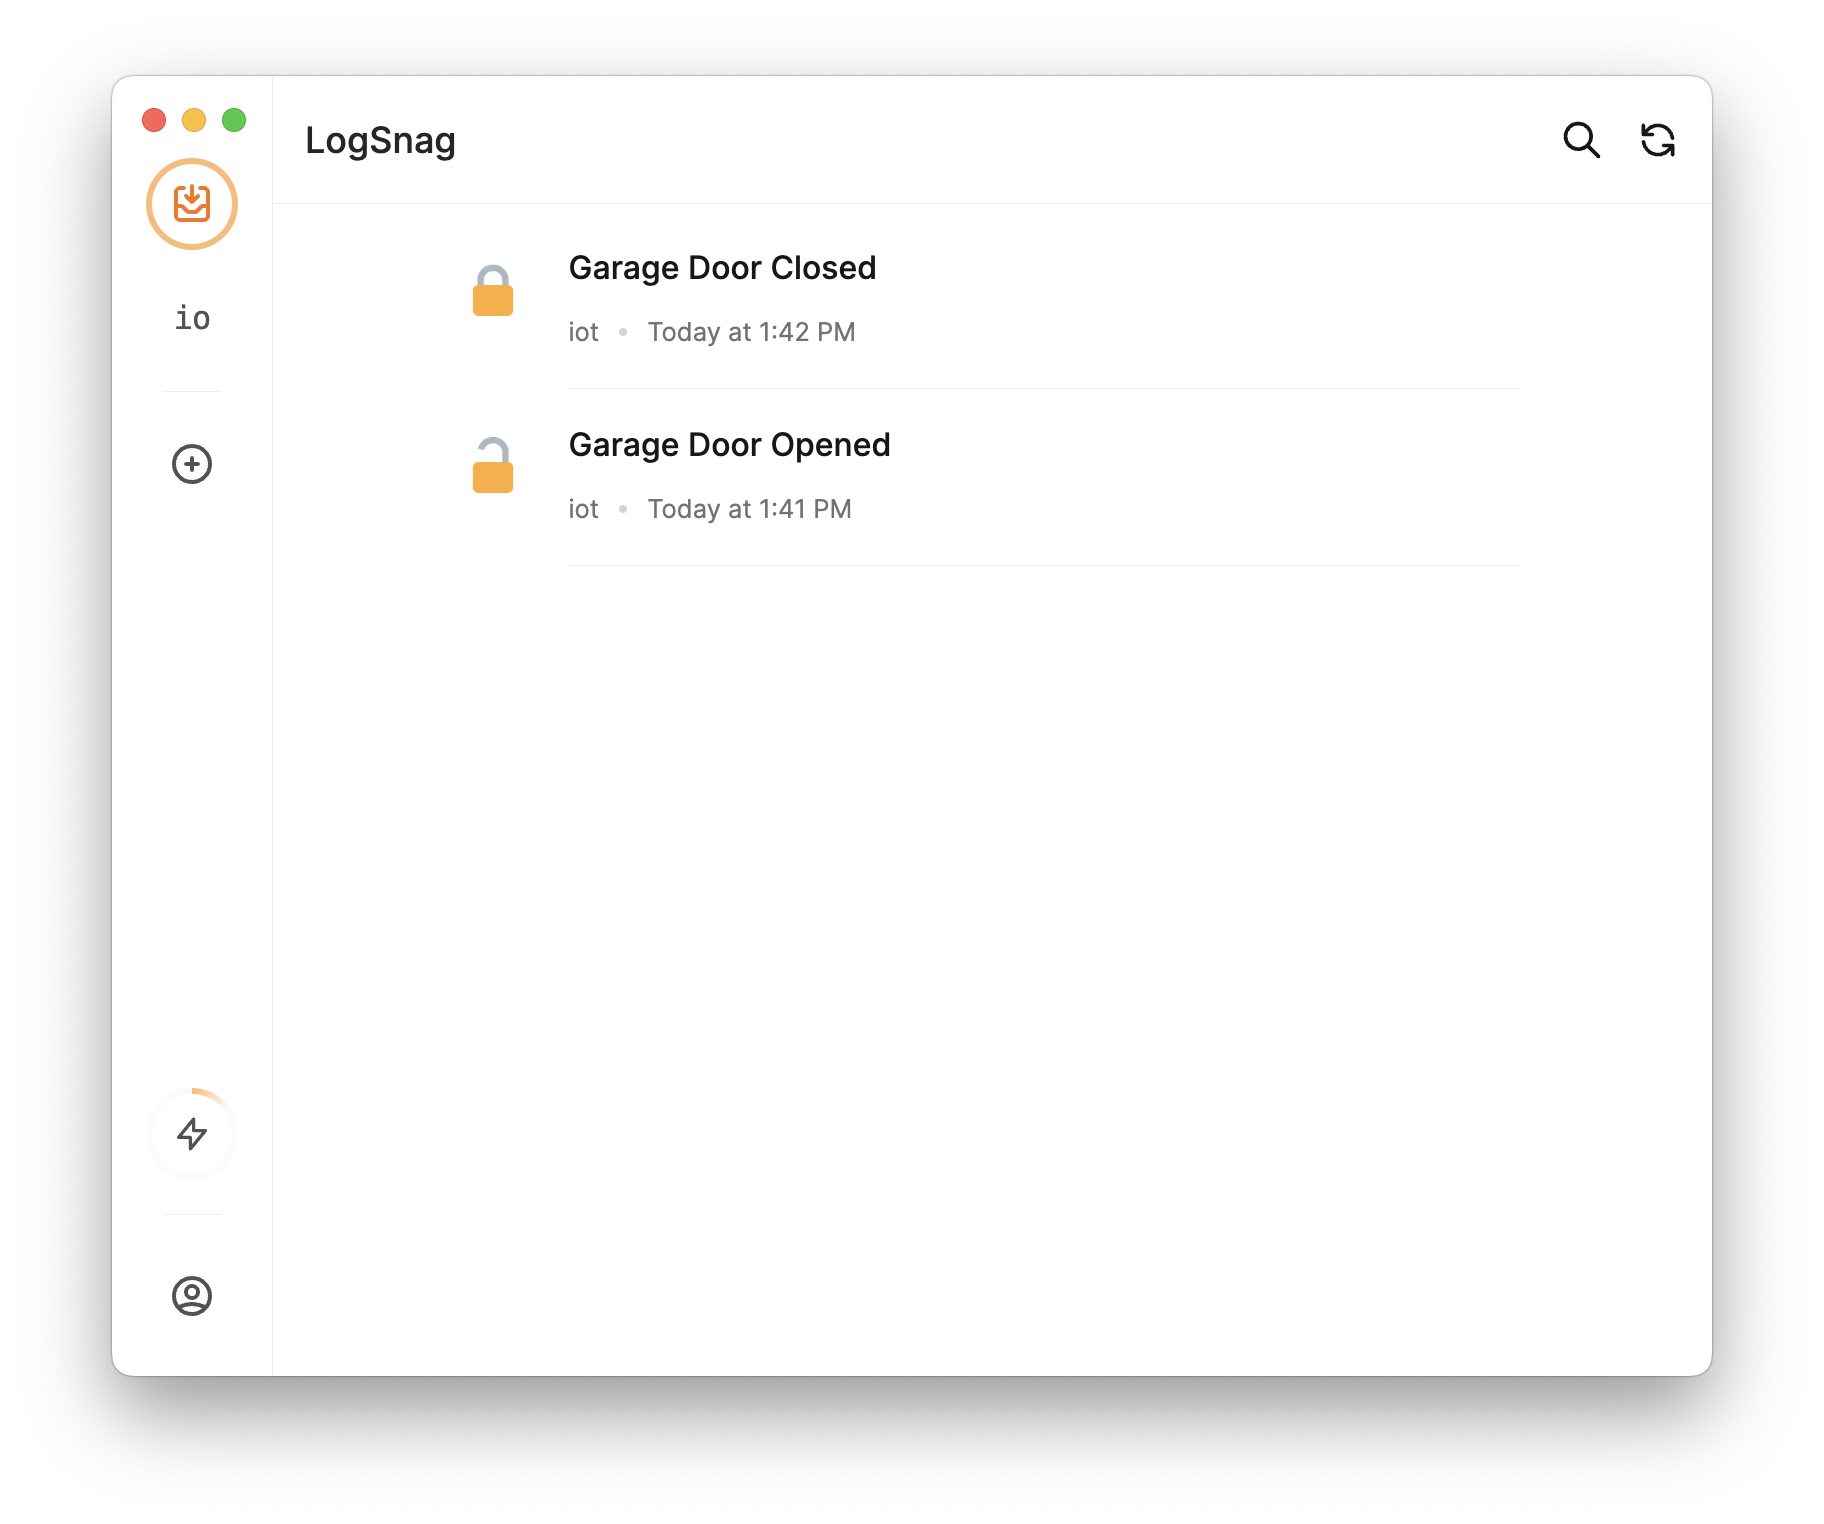
Consider that we have a Raspberry Pi connected to our garage door. We want to track the door's state, so we can send a push notification when the door is opened.
I will use Python for this example, but we can also use Javascript, Typescript, C, Ruby, or any other language as long as it can make HTTP requests.
So let's get to the code. First, let's define a function that we will assume will be called when the door is opened or closed.
Now, let's integrate LogSnag. As I mentioned before, our goal is to track the state of our door, or in other words, we want to track each time one of these functions is called.
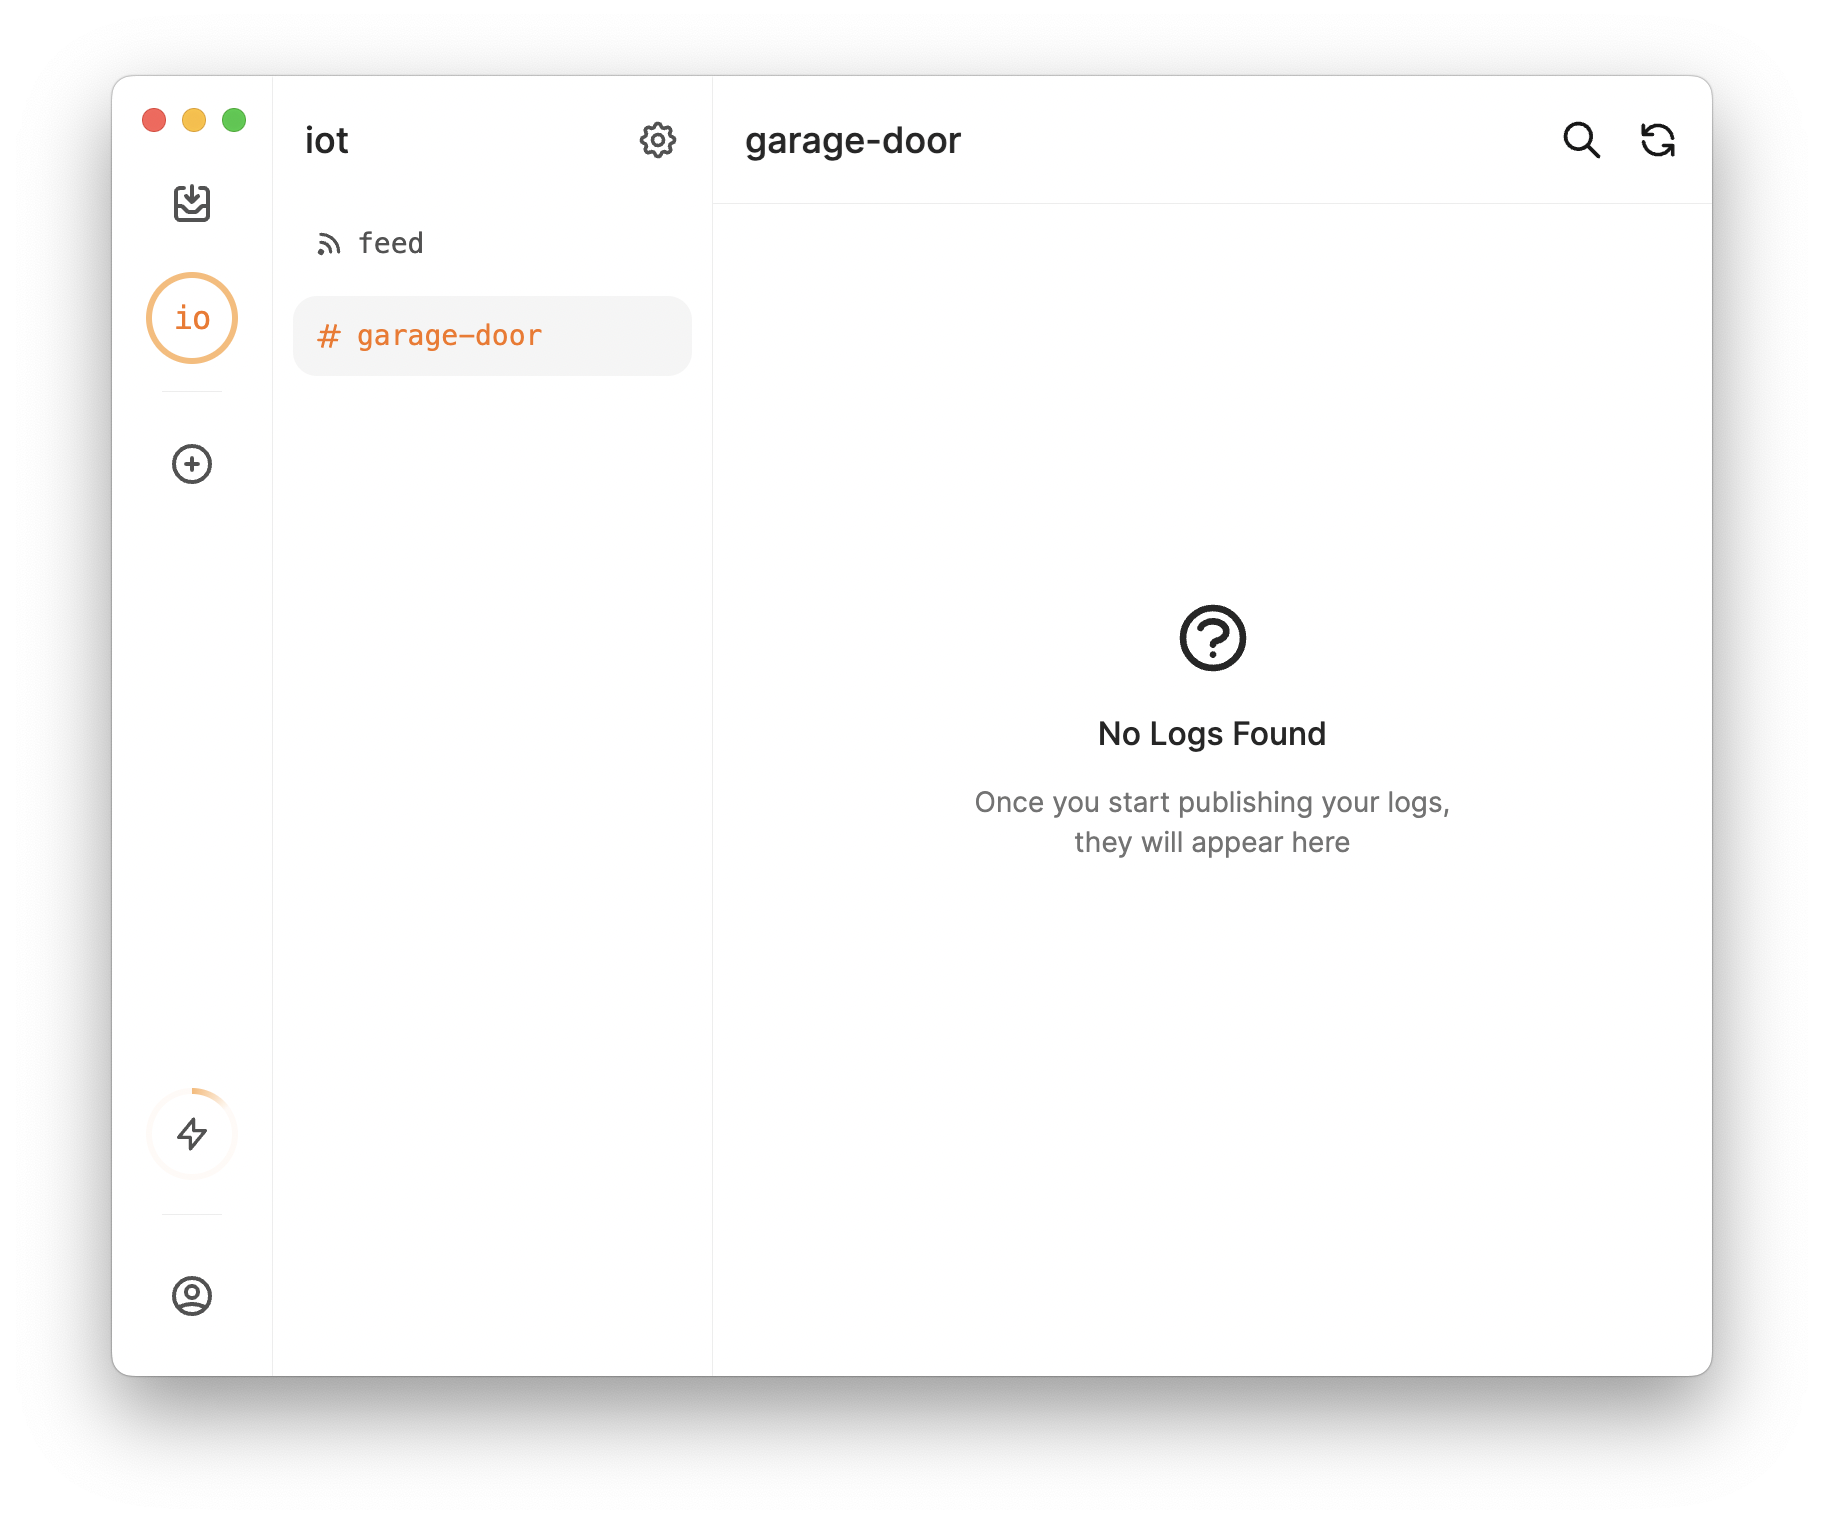
To get started, create a free LogSnag account and log in to your dashboard. When you first log in, you are walked through the steps to make your first project and channel.
For this demo, I will call our project, iot and our channel, garage-door.
We need to get our API token. This is the token that we will use to authenticate our requests. To do this, click on the settings, head to the API section, and copy your token. Keep in mind that you can create as many tokens as you want; you can change their permissions and revoke them at any time.
Let's now assign this token to a variable.
Let's install our Python library. All this library does is make it easy to make the HTTP requests to LogSnag. But, of course, you can also do the same without installing the library and by just manually creating the HTTP requests.
Next, import the library and initialize your LogSnag object.
All left to do now is publish any event we would like to keep an eye on. So let’s add that to our open and close methods.
Let's go over what we did here. To publish an event to LogSnag, all you have to do is to call the publish method and pass in a dictionary with a couple of fields:
Channel is there to separate our events within a project.
Event describes what we are tracking.
Icon is an optional emoji to make it easier to scan your timeline.
You can learn more about our API on our docs.
Alright, now let's deploy this code to our Raspberry Pi and give it a try.
As soon as you close or open the garage door, you will receive these events in real-time, without having to refresh or do anything on the app.
So easy, right? Honestly, I wish I had something like this a few years ago when I had just started experimenting with IoT.
Sending push notification from a Raspberry Pi.
There is something that I haven’t told you about LogSnag yet. In the garage door example, we are tracking these events, which show up on our phone and desktop. However, what if there is an important event, and you would like to be notified even if you don’t have the application open?
Push notifications to the rescue.
One of the most popular features of LogSnag is the option to send push notifications in case you have an important event and want to be notified as soon as it happens.
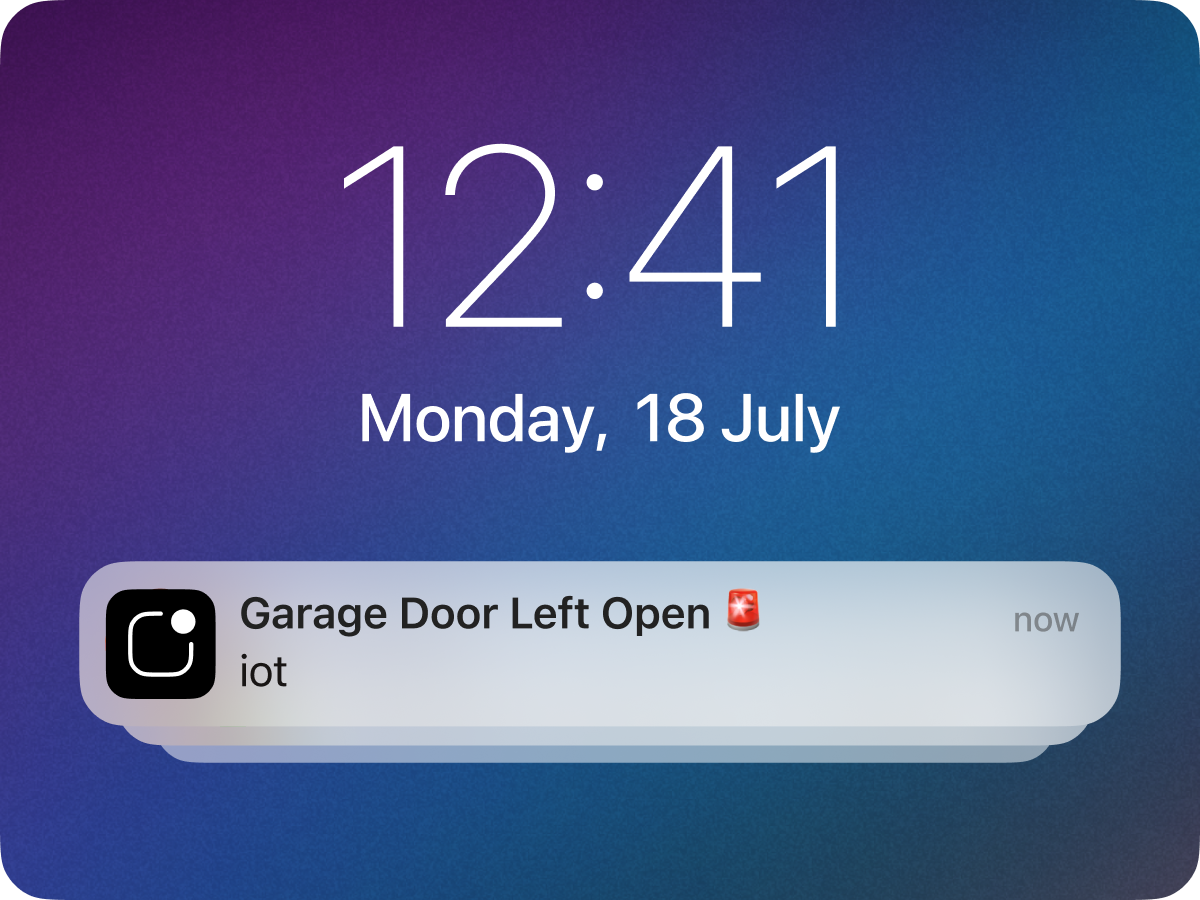
Back to our example, let’s imagine we have another defined function executed when our garage door is left open for more than 10 minutes.
Not sure about you, but I would personally want to be notified of this event in case I have forgotten to close the door before leaving the house.
This, again, is extremely easy to do with LogSnag. All we have to do is publish an event, same as before, but this time, add notify to our dictionary.
Let’s now give this a try. Hopefully, you have written test cases for your code, so you don’t have to leave the door open for 10 minutes before you get the notification.
I told you this was going to be easy! Now, imagine all the different types of events that you can track with LogSnag.
Conclusion
While designing LogSnag, one of my main goals has been to make the tool as unopinionated as possible. Meaning that it is flexible and versatile, allowing the user to shape it around their projects instead of the tool dictating how it should be used.
We also have a lot of different features that we can use to make our tool even more powerful. For example, with LogSnag, you can use real-time analytics and charts for these events and custom timelines, filtering, and searching. You may also add other members to your project, so they can see the events you are tracking and receive push notifications.
I can't wait for you to try it out, and if you have any questions, please don't hesitate to contact me.
Interested in LogSnag?