
We are excited to announce our new Next.js integration with LogSnag, a powerful event tracking and product analytics tool specifically designed for SaaS applications. This post will delve into how you can use LogSnag for real-time event tracking in your Next.js application.
What is LogSnag?
LogSnag is a simple, yet effective and powerful tool that makes it trivial to track real-time events in your SaaS applications. It is built to be developer-friendly and is a modern alternative to other event tracking tools such as Mixpanel, Amplitude, and Segment.
LogSnag provides a simple API for tracking events in your application, and it automatically generates product analytics reports for SaaS applications based on the AARRR (The Pirate Metrics) framework.
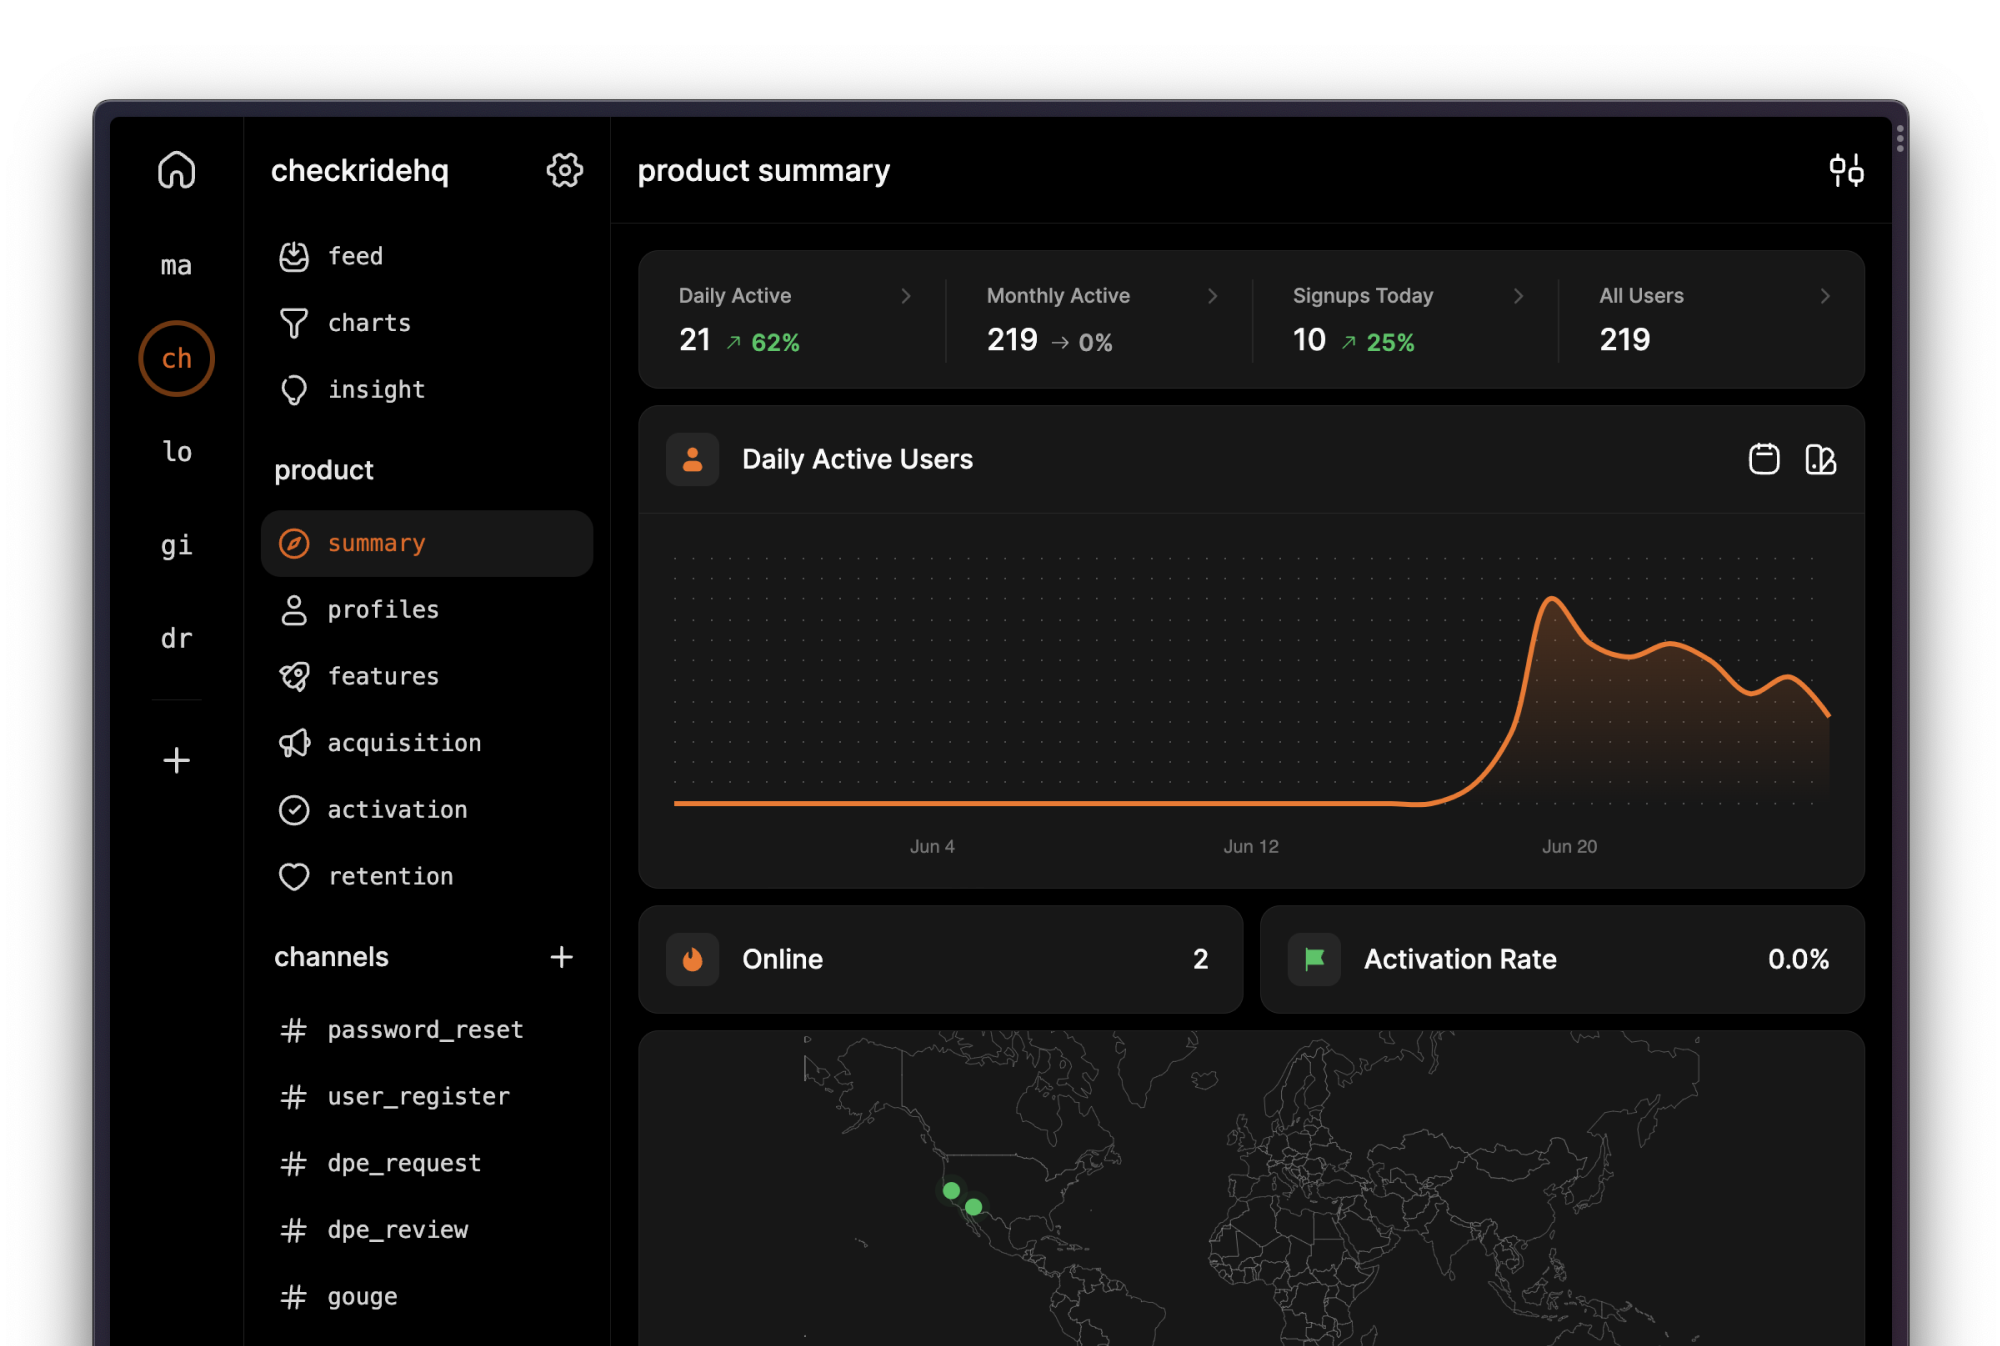
LogSnag offers an easy-to-use API for tracking events and automatically generates product analytics reports based on the AARRR (The Pirate Metrics) framework. These reports help you understand user interactions, track user acquisition, retention, and engagement, and provide insights on how to enhance user engagement and retention.
LogSnag also gives you detailed user profiles showing each user's activity in your application, including visited pages, triggered events, custom properties, and more.
Finally, LogSnag includes a handy chart builder that lets you create custom charts like funnels, pie charts, and bar charts. These charts help you visualize your data and better understand how your users are interacting with your application.
Integrating LogSnag with Next.js for Product Analytics
Integrating LogSnag with Next.js is a breeze, we provide native support for both the pages and app directories as well as server-side event tracking in case you need it.
To get started, install the LogSnag package:
Initialize the LogSnag provider
Next, copy your project name and API key from the LogSnag dashboard. Then, import the LogSnag provider and initialize it at the root of your Next.js application:
Pages directory
App directory
With these steps, you can now begin tracking events and user interactions in your Next.js application to get a better understanding of how your users are interacting with your application, which features they are using the most, and how you can improve your application to increase user engagement and retention.
Setting the User ID
LogSnag's product analytics features are designed to be used with SaaS applications. As such, we have first-class support for user tracking. Here's how you can set the user ID in your Next.js application:
Pages directory
App directory
In the app directory, you may use the useLogSnag hook for client components as shown above. However, for server-side rendering, you can use the SetUserIdServerComponent component to set the user ID:
Tracking Events
Now that you have set the user ID, LogSnag will automatically track page views and start generating product analytics reports such as user profiles, retention, acquisition, and more.
However, to get the most out of LogSnag and enrich your SaaS applications analytics, we recommend that you track custom events in your application. Here's how you can do that:
There are multiple ways to track events in your Next.js application. Let's take a look at each of them:
Track events using data attributes
This is by far the easiest way to track events in your Next.js application. Simply add the data-event attribute to any element in your application, and LogSnag will automatically track the event when the element is clicked.
There are other optional attributes that you can use to customize the event:
data-channel: The channel to which the event should be sent. Defaults toevents.data-icon: The emoji icon to use for the event. E.g.,:rocket:.data-tag-<name>: Custom tags to add to the event. E.g.,data-tag-priority='high'.
Track events using the useLogSnag hook
In certain cases, you may prefer to track events programmatically. For example, you may want to track an event when a user clicks on a button only if a certain condition is met. In such cases, you can use the useLogSnag hook to track events:
Track server-side events
Finally, you may prefer to track events on the server-side. For example, you may want to track an event when a user signs up for your application. For such cases, we provide a server-side client that you can use to track events:
Please note that the server-side client should only be used in the server-side code. Additionally, it does not have access to the user ID set in the client-side code, therefore you must set the user ID manually.
Links and Resources
If you're interested in learning more about LogSnag, here are some useful links:
Conclusion
As you can see, integrating LogSnag with Next.js is a straightforward process. We give you multiple ways to track events in your application and leave it up to you to choose the one that works best for you. Once you have integrated LogSnag with your Next.js application, you start seeing real-time events in your dashboard and get out-of-the-box product analytics reports that follow the AARRR or in other words, the Pirate Metrics framework.
Please give LogSnag a try and let us know what you think. We are always looking for feedback and would love to hear from you.
Interested in LogSnag?