
Like me, you may also be interested in receiving push notifications and logs from your application whenever a user performs some action. For example, if you're building a new SaaS or a Shopify store, you may want to be instantly notified when you acquire a new user or a paying customer.
So far, options were limited to using Slack, Telegram, and Discord, hacking your way through their Webhook or chatbot API, and sending messages to yourself to get a push notification. Unfortunately, this method is inconvenient, insecure, and very limited.
One major problem with any of these services is that you are limited to sending events from your backend code as the API tokens are private. Therefore, implementing these on your frontend code would make your account susceptible to spam, abuse, and potentially getting suspended.
LogSnag provides a unique approach to enable web developers to publish events directly from their frontend code without having to worry about spam or getting their tokens stolen. We offer a specific type of tokens designed for use on client-side code, and we call them Public API Tokens. This blog post will walk you through creating a new Public Token and publishing your events directly from React.
For example, let's create a landing page with React and log an event whenever a new user signs up for our newsletter. To get started, let's create a new react app:
Next, we want to create a basic form in our React app. Head to App.js, and define an email state using the useState hook.
Then, let's create our form, pass in our state to the input field and create an onSubmit method for the form. Of course, in a real-world example, you would want to use the onSubmit method to store this email address in a database like Firebase, but in this example, I will ignore that process and focus on implementing LogSnag.
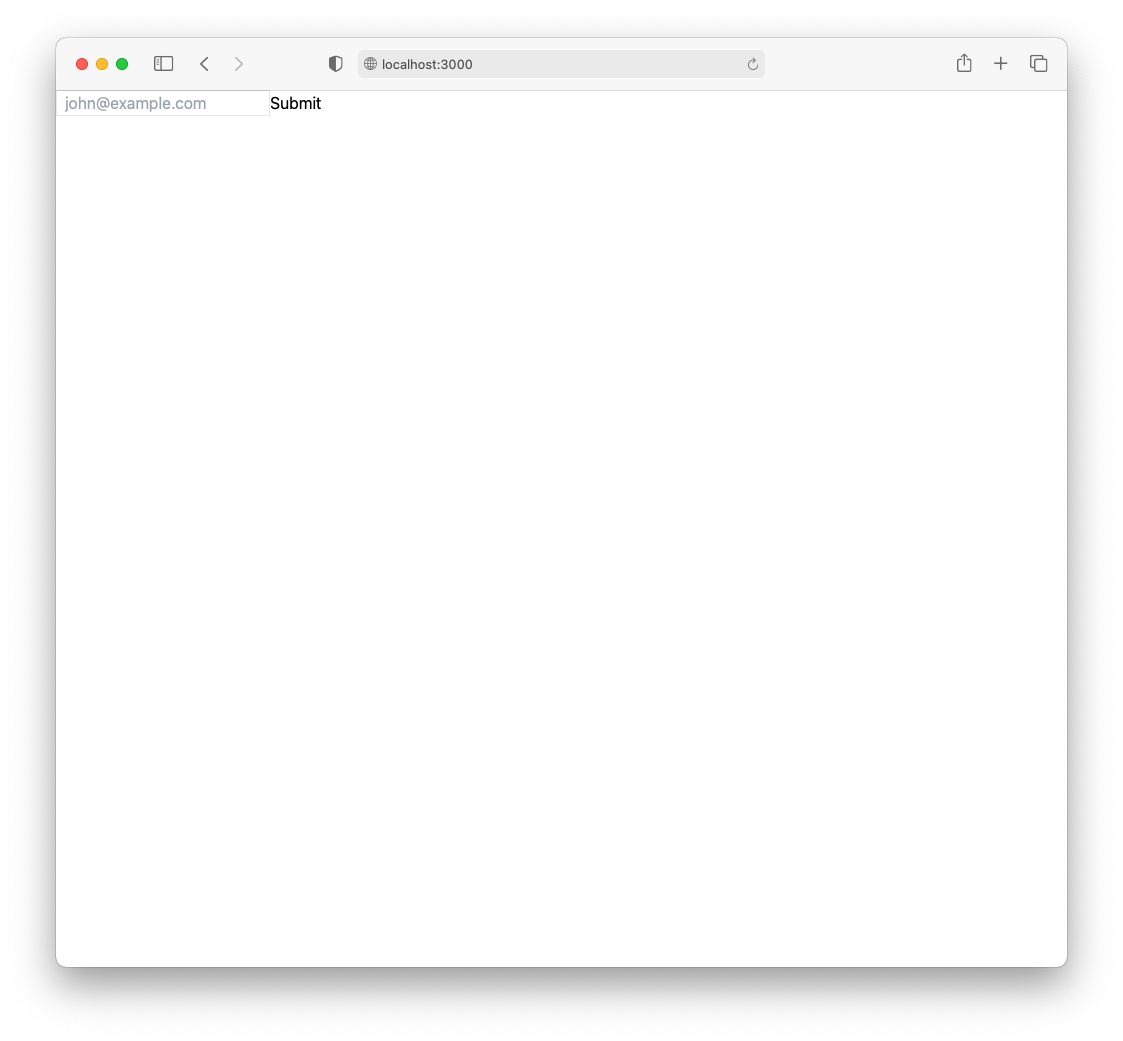
Now, if we check the browser, we should have a simple email input and a submit button, and if we click on the submit button, it should clear the input.
Time to get started with LogSnag. Head to your LogSnag account and create a new project; I will call mine "react-demo." Then, go into the project settings and create a new channel. Let's call this "waitlist.”
Head to the API settings to create a new API token. By clicking the gear button next to the new Token, we can open the Token settings. From there, set the Token to Public Access and limit it to the project and the channel that we have just created. This step will apply additional restrictions to the Token. Finally, copy the Token as we will have to use it in our React app.

Time to get back to our code. Let's install LogSnag's npm client.
Import the client in App.js and initialize a new instance with the API token that we have just created.
Now, all there is left to do is publish a new even from our onSubmit method.
Putting it all together, we should have the following code.
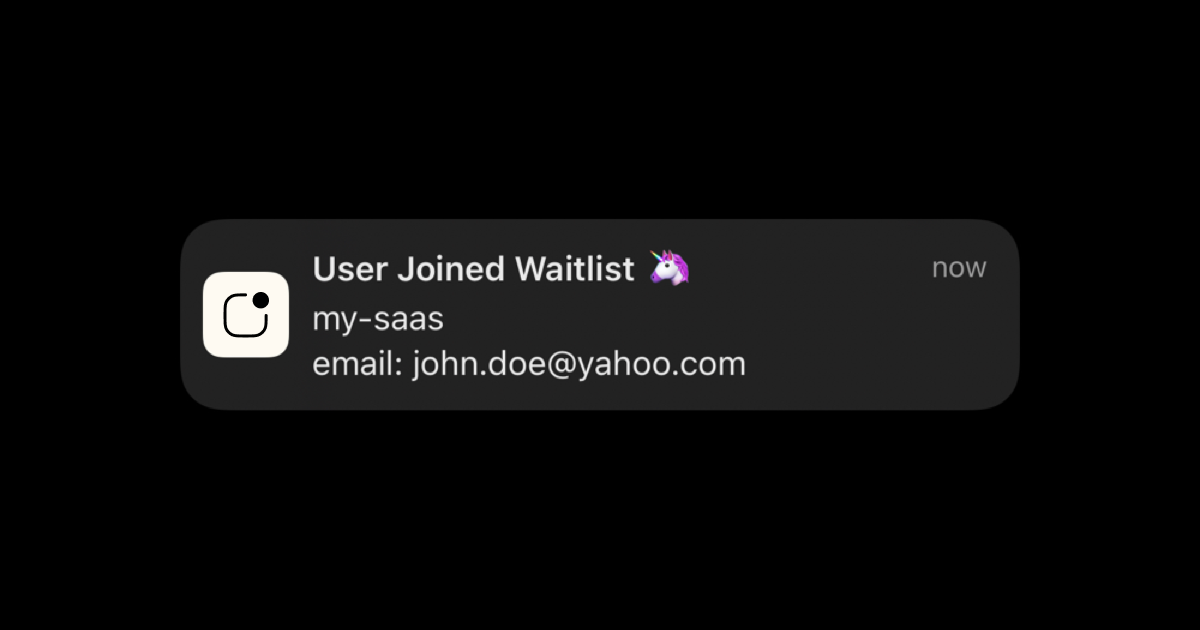
Now, let's give this a try. Head back to your browser, enter an email address, and click Submit. If you have everything set up correctly, you should instantly see a new event pop up on your LogSnag account and receive a push notification on your devices since we have set the notify field to true.
Interested in LogSnag?