I tend to do a lot of web scraping for different projects, so I have a bunch of python scripts that are constantly running on my virtual private servers (VPS) or my raspberry pis. Unfortunately, these scripts take a long time to run, hours, days, or even weeks. This is mainly because of the large number of pages/URLs that they have to crawl, their wait time to bypass rate limit issues, or the retry mechanism.
The problem
With long-running tasks, we face the problem of not knowing when they are done running and whether they have succeeded or failed due to some unknown error. Thus as engineers, we search for solutions and hack our way through other platforms to solve these problems. One of the standard practices is using an SMTP library with your email credentials and emailing yourself with the status of these jobs. Another common but tricky way is to use an API like Twillio and text yourself about these scripts. However, even though these methods work, they are very hacky as your mailbox, and the SMS app is not meant to receive status updates from your scripts.
To fix this very common problem, we have created LogSnag; A platform designed explicitly to track your project events! LogSnag comes with everything you need to solve this problem and provides you with integration for different services and languages out of the box. This blog post will walk you through setting up your first event tracker with LogSnag and Python.
Before we get started, imagine we have a crawler script that may take multiple days to run. We would like to periodically notify ourselves of its progress and whether it has failed or has successfully finished running.
Let's start
Time to start implementing LogSnag. First, head to your terminal and install LogSnag's Python package by running the following command.
Now, we can head to our Python code and import LogSnag
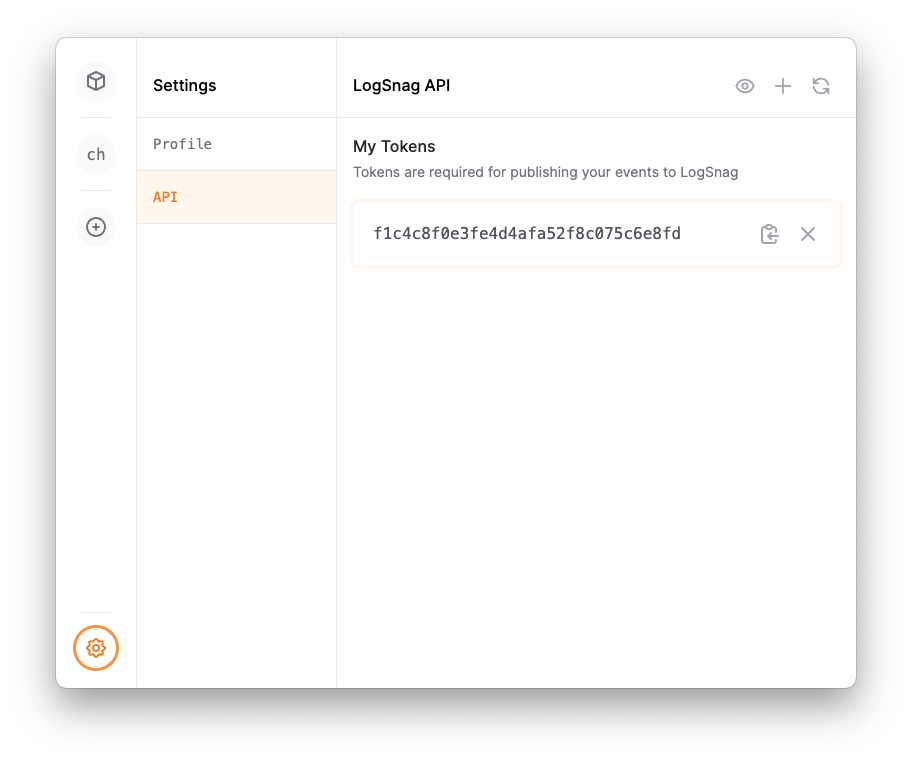
Once we have imported the client, all left is to initialize a new instance with our LogSnag API token and publish our events. To get your API token, head to your LogSnag account, open Settings, and create a new API token from the API tab. For more information, you can check out our documentation page.

Now that you have your token create a new LogSnag client and pass in your API token. Again, we highly recommend importing the token from environment variables or using a secrets manager.
And that's it! It only took us 2 lines of code, and now we can publish any event that we may have to our LogSnag account and instantly receive notifications as they come in.
Publish your first event
We have to call the publish method on the client that we have just initialized and provide some information about this event, such as which project it belongs to, an event title, and an optional icon! And you could optionally set notify for receiving push notifications.
Say, we would like to receive a progress update on each 25% increment. To do so, we can use the following piece of code.
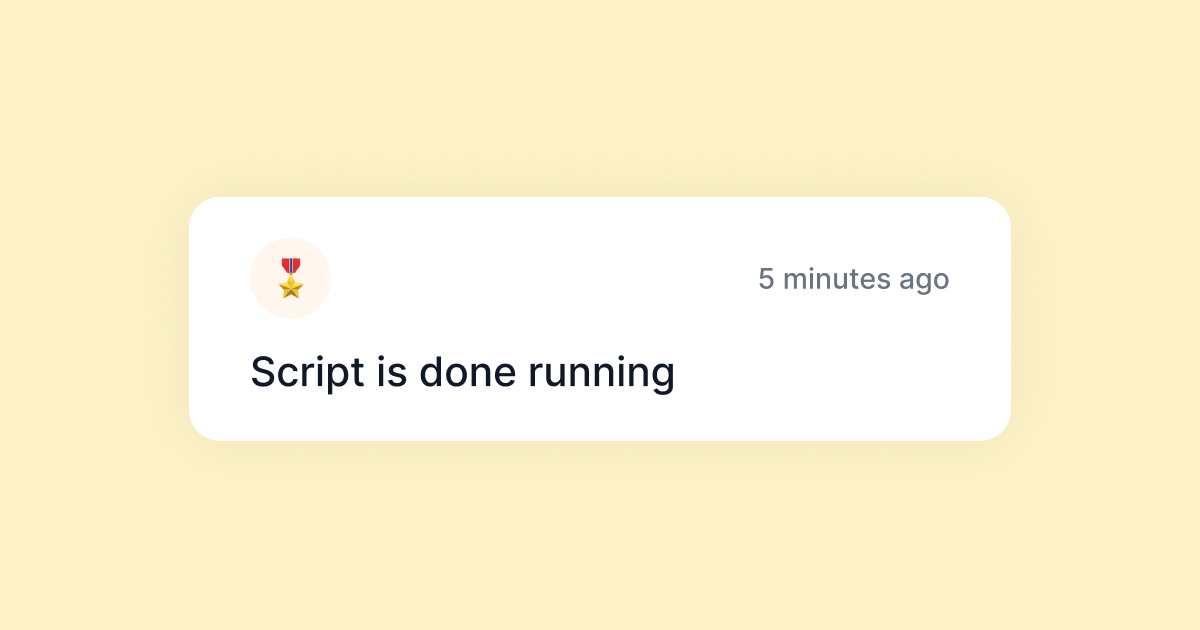
Once we run this code, we will instantly receive a push notification on our devices that have LogSnag installed, and we will see a new event popup on our dashboard, similar to the following.
Crawling 25% complete
crawler
2 minutes ago
Conclusion
As you can see, with only a few lines of code, we managed to import, integrate and publish events directly from our Python script to our phone and computer.
LogSnag works as a very powerful addition to your dev tools. LogSnag enables you to track all of your events across different projects in addition to a variety of features that you may find helpful. We highly recommend you take a further look at our documentation page and check out other integrations that LogSnag provides out of the box.
Interested in LogSnag?

