We're excited to introduce our Vue.js integration with LogSnag, a modern took for real-time event tracking and product analytics for SaaS applications. In this post, we'll explore how to use LogSnag for real-time event tracking in your Vue.js applications.
What is LogSnag?
LogSnag is a user-friendly and powerful tool that simplifies real-time event tracking in SaaS applications. It's a modern alternative to other event tracking tools, offering a developer-friendly experience.

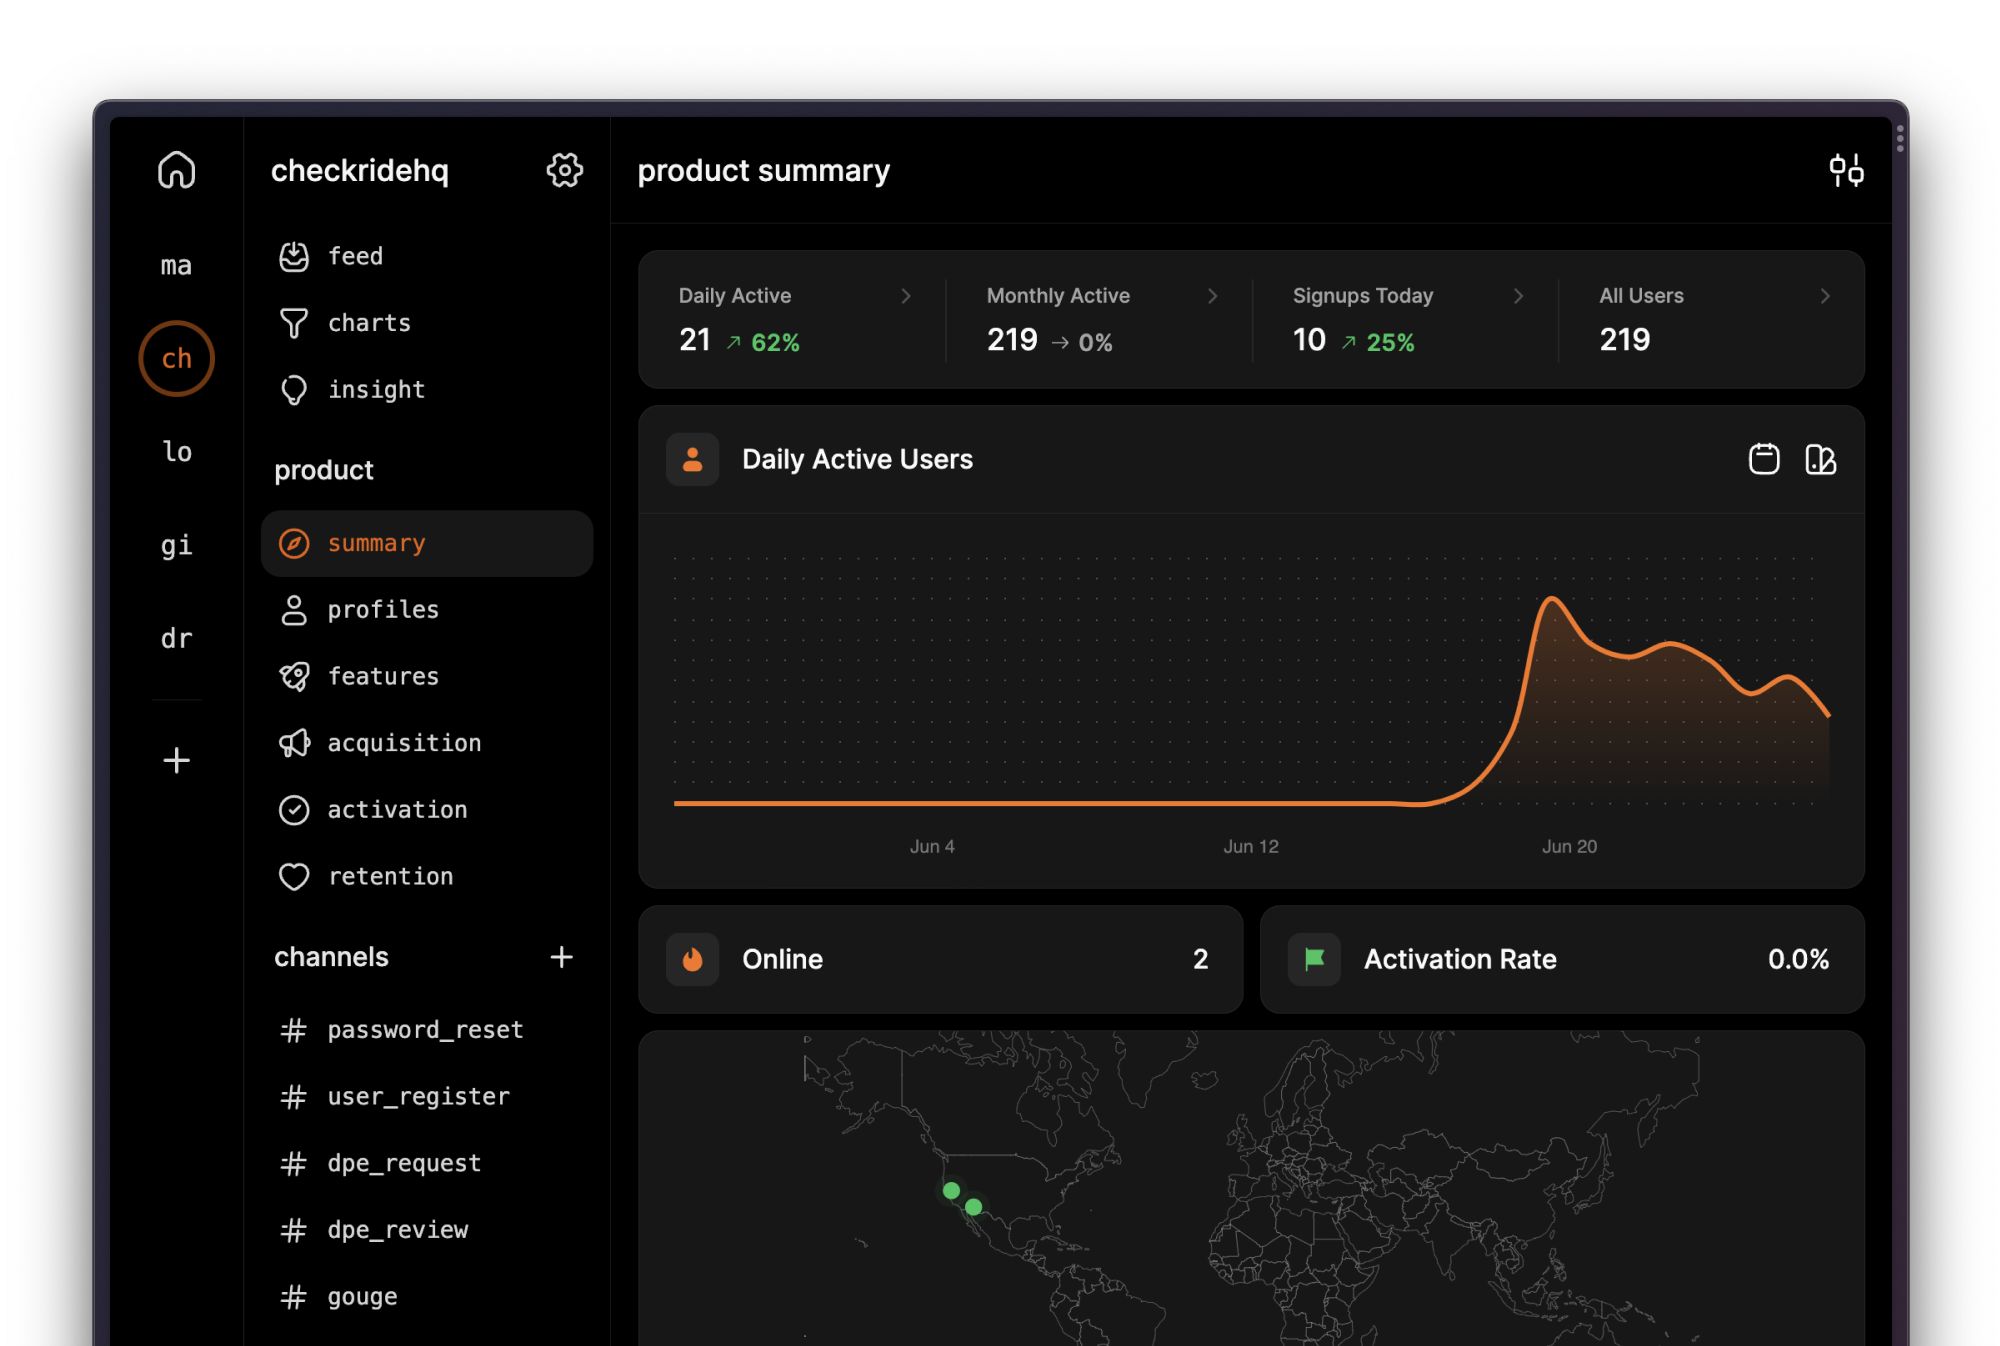
LogSnag provides a straightforward API for tracking events and automatically generates insightful product analytics reports based on the AARRR (The Pirate Metrics) framework. These reports allow you to understand user interactions, track user acquisition, retention, and engagement, and gain insights on enhancing user engagement and retention.
Apart from this, LogSnag offers detailed user profiles, showcasing each user's activity in your application, including visited pages, triggered events, custom properties, and more. It also includes a convenient chart builder for creating custom charts, helping you visualize your data and understand user interactions better.
Integrating LogSnag with Vue.js for Product Analytics
We have worked hard to make sure that integrating LogSnag with your Vue.js application is as easy as possible. Here's how to get started:
Getting Started
First, install the LogSnag plugin in your Vue application:
Initialize LogSnag
Next, copy your project name and API key from the LogSnag dashboard. Then, import the LogSnag plugin and initialize it in your Vue.js application:
With these steps, you're all set to track events and user interactions, understand user behavior, and identify areas for improving user engagement and retention.
Setting the User ID
LogSnag is designed to work seamlessly with SaaS applications, offering first-class support for user tracking. Here's how to set the user ID in your Vue.js application:
Tracking Events
Once you've set the user ID, LogSnag will automatically track page views and generate product analytics reports.
To enrich your SaaS applications analytics, we recommend tracking custom events. Here's how:
Using data attributes
The simplest way to track events is by adding the data-event attribute to any element. LogSnag will automatically track the event when the element is clicked.
There are other optional attributes that you can use to customize the event:
data-channel: The channel to which the event should be sent. Defaults toevents.data-icon: The emoji icon to use for the event. E.g.,:rocket:.data-tag-<name>: Custom tags to add to the event. E.g.,data-tag-priority='high'.
Using the LogSnag functions
For more complex scenarios, you can track events programmatically using the LogSnag functions:
Links and Resources
If you're interested in learning more about LogSnag, here are some useful links:
Wrapping Up
As you can see, integrating LogSnag with Vue.js is a straightforward process. We give you multiple ways to track events in your application and leave it up to you to choose the one that works best for you. Once you have integrated LogSnag with your Vue.js application, you start seeing real-time events in your dashboard and get out-of-the-box product analytics reports that follow the AARRR or in other words, the Pirate Metrics framework.
Please give LogSnag a try and let us know what you think. We are always looking for feedback and would love to hear from you.
Interested in LogSnag?

